Rapid Prototyping
3D printing has become an integral part in the design process making concepts to become reality with relatively low costs
ICandy Assist Prototyping
Due to the complexities of the design, it was imperative to create test rigs and 3d prints to showcase how the design worked and developed, below is showcasing some of the highlights of this process.
Prototyping Process
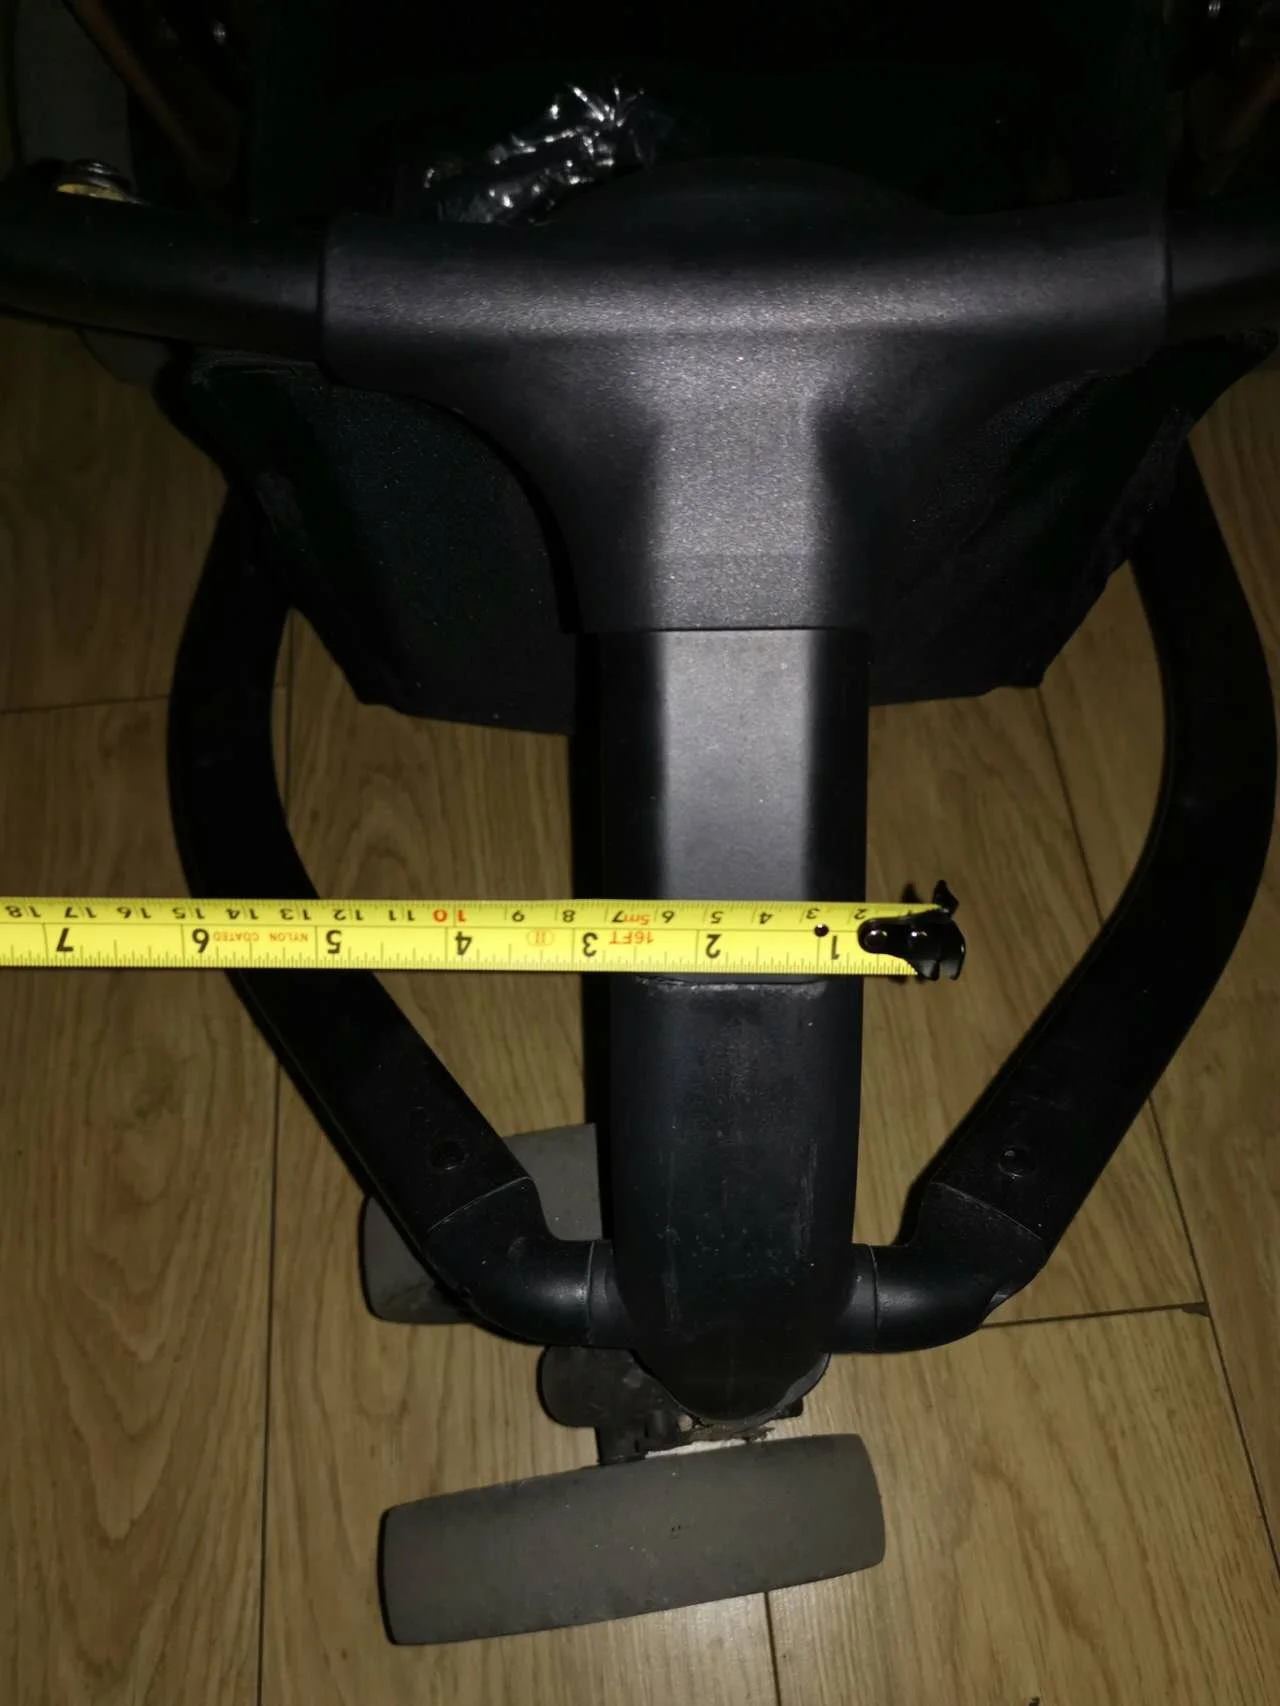
Push Assist Test Rig
As part of the design process it quickly became apparent that I needed to create a proof of concept for the ‘Push Assist’ integration into the pram.
Full Scale Mockup
Full scale mockups played an essential part of this design process. Though not perfect, as a design tool, it quickly became invaluable as I became aware of the requirments for the prams dimensions and angles of interaction with the user.
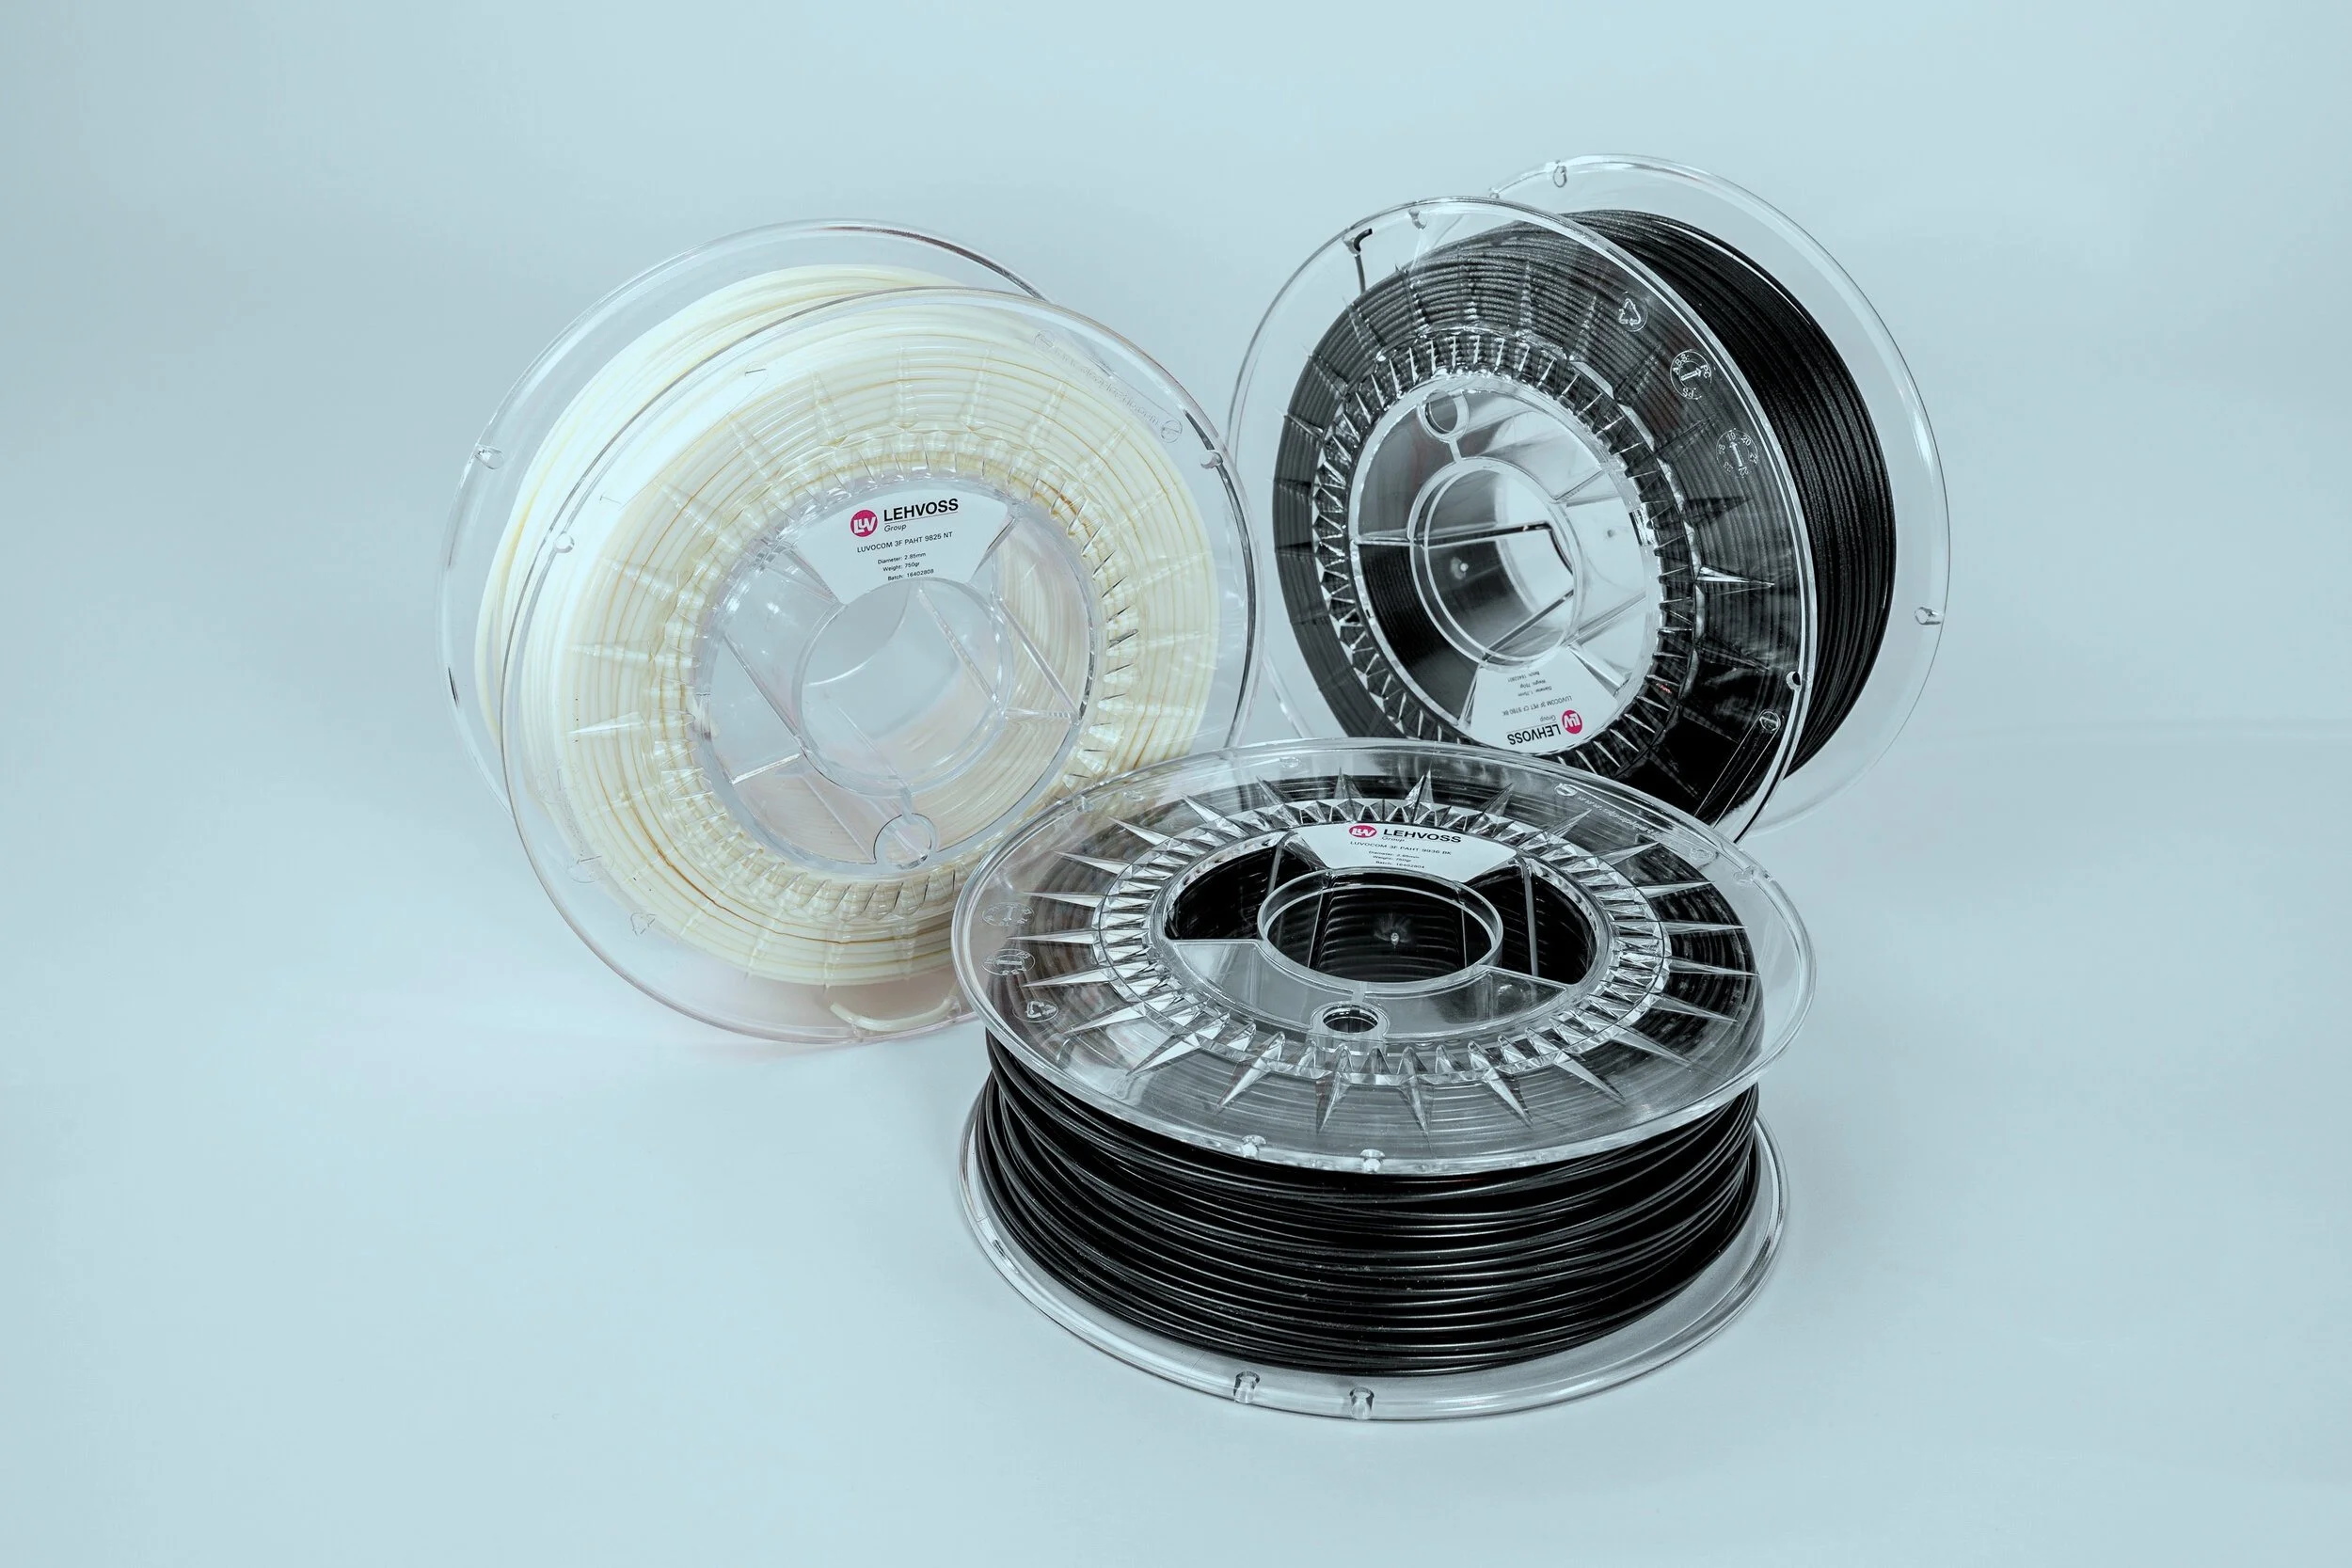
Resin 3D Printing
The final design due to its complexities required a scaled 3D printed model. Due to the complexities of the module I used a Formlab 2 to print the model and assembled for the final show.
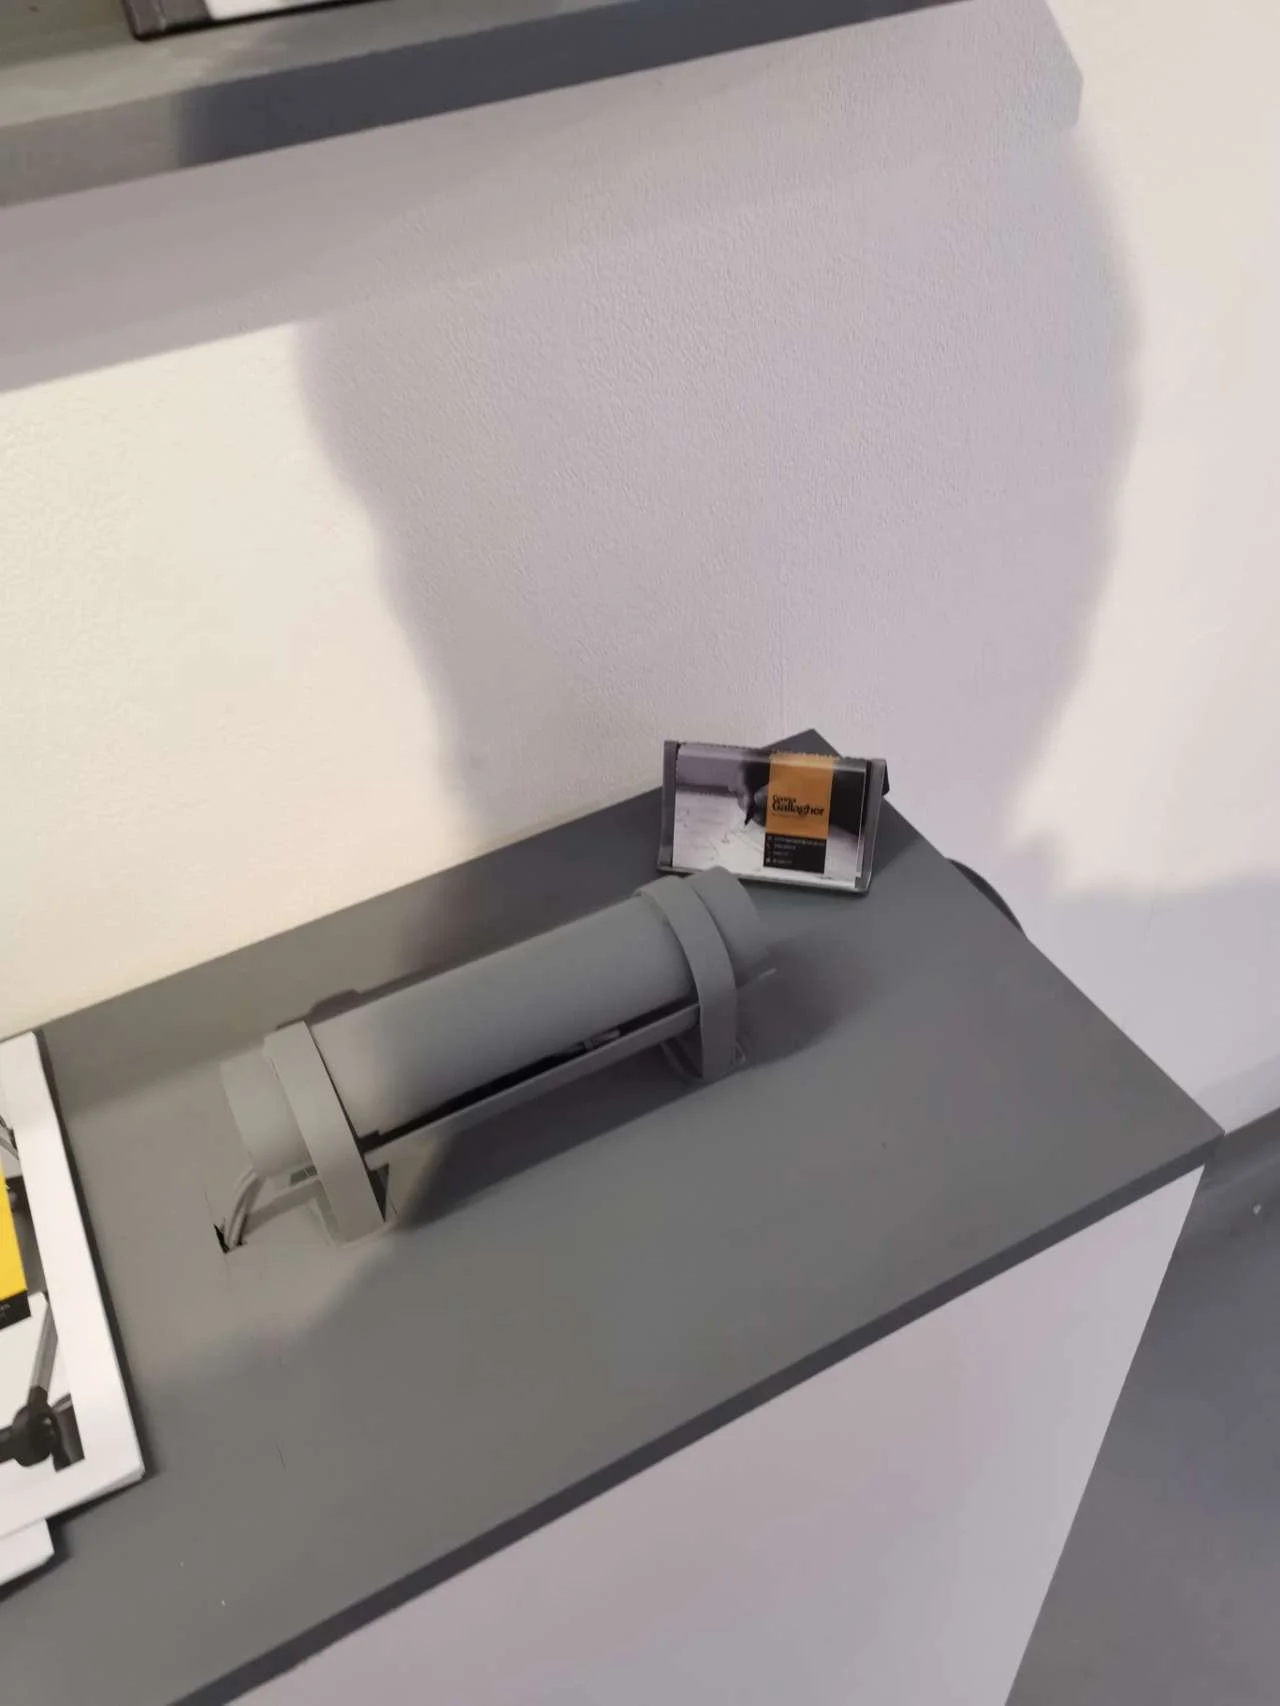
Test Rig
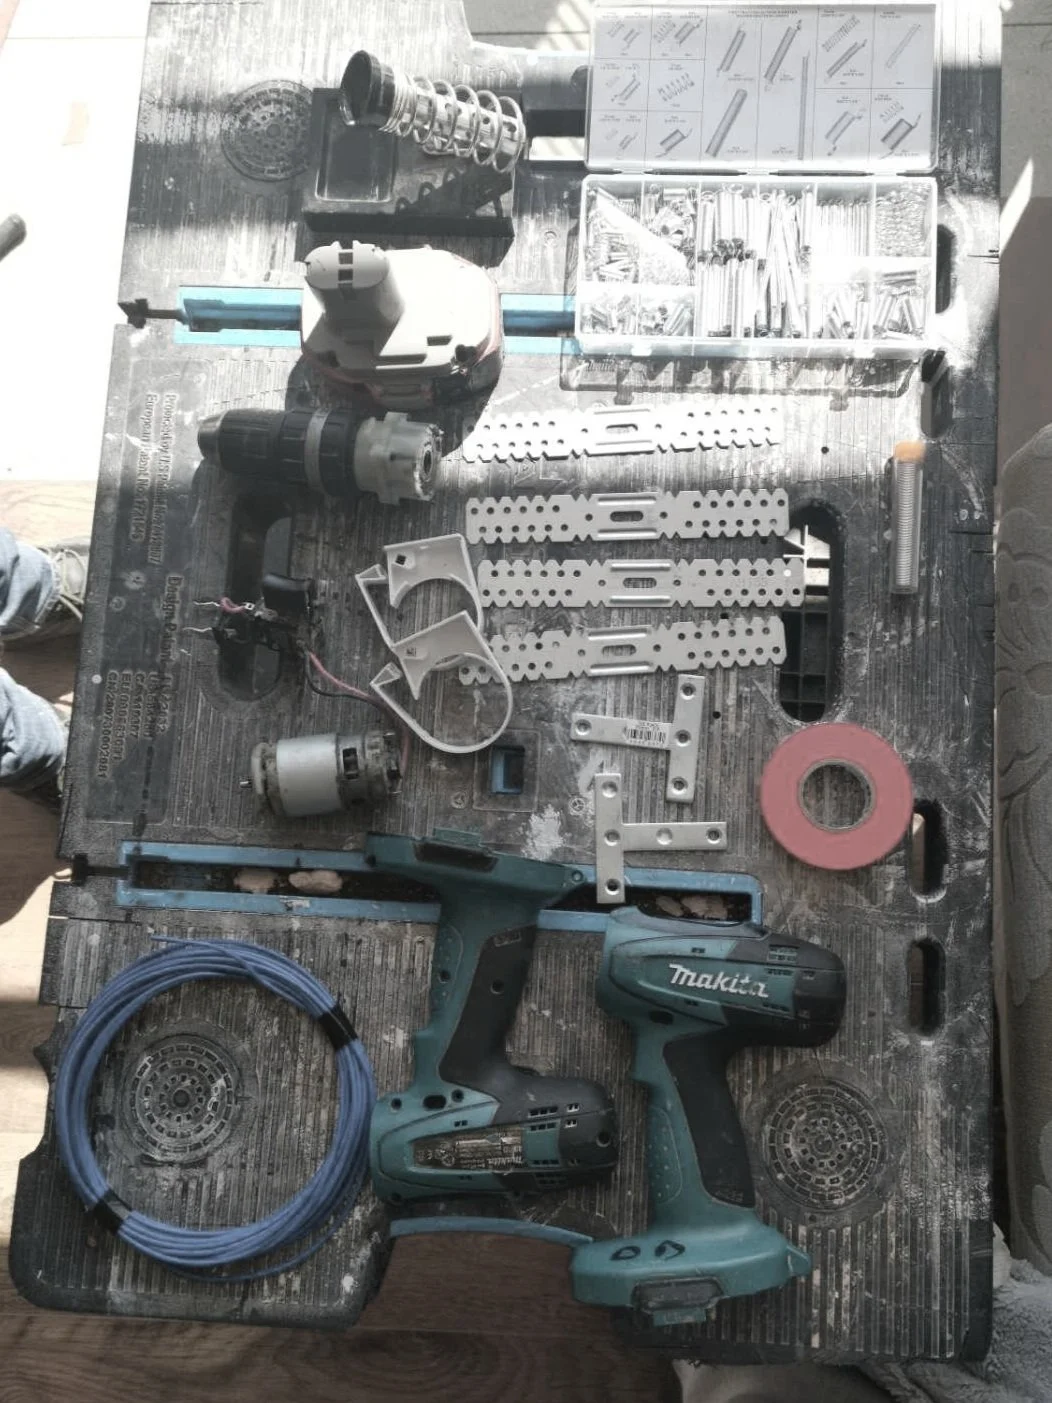
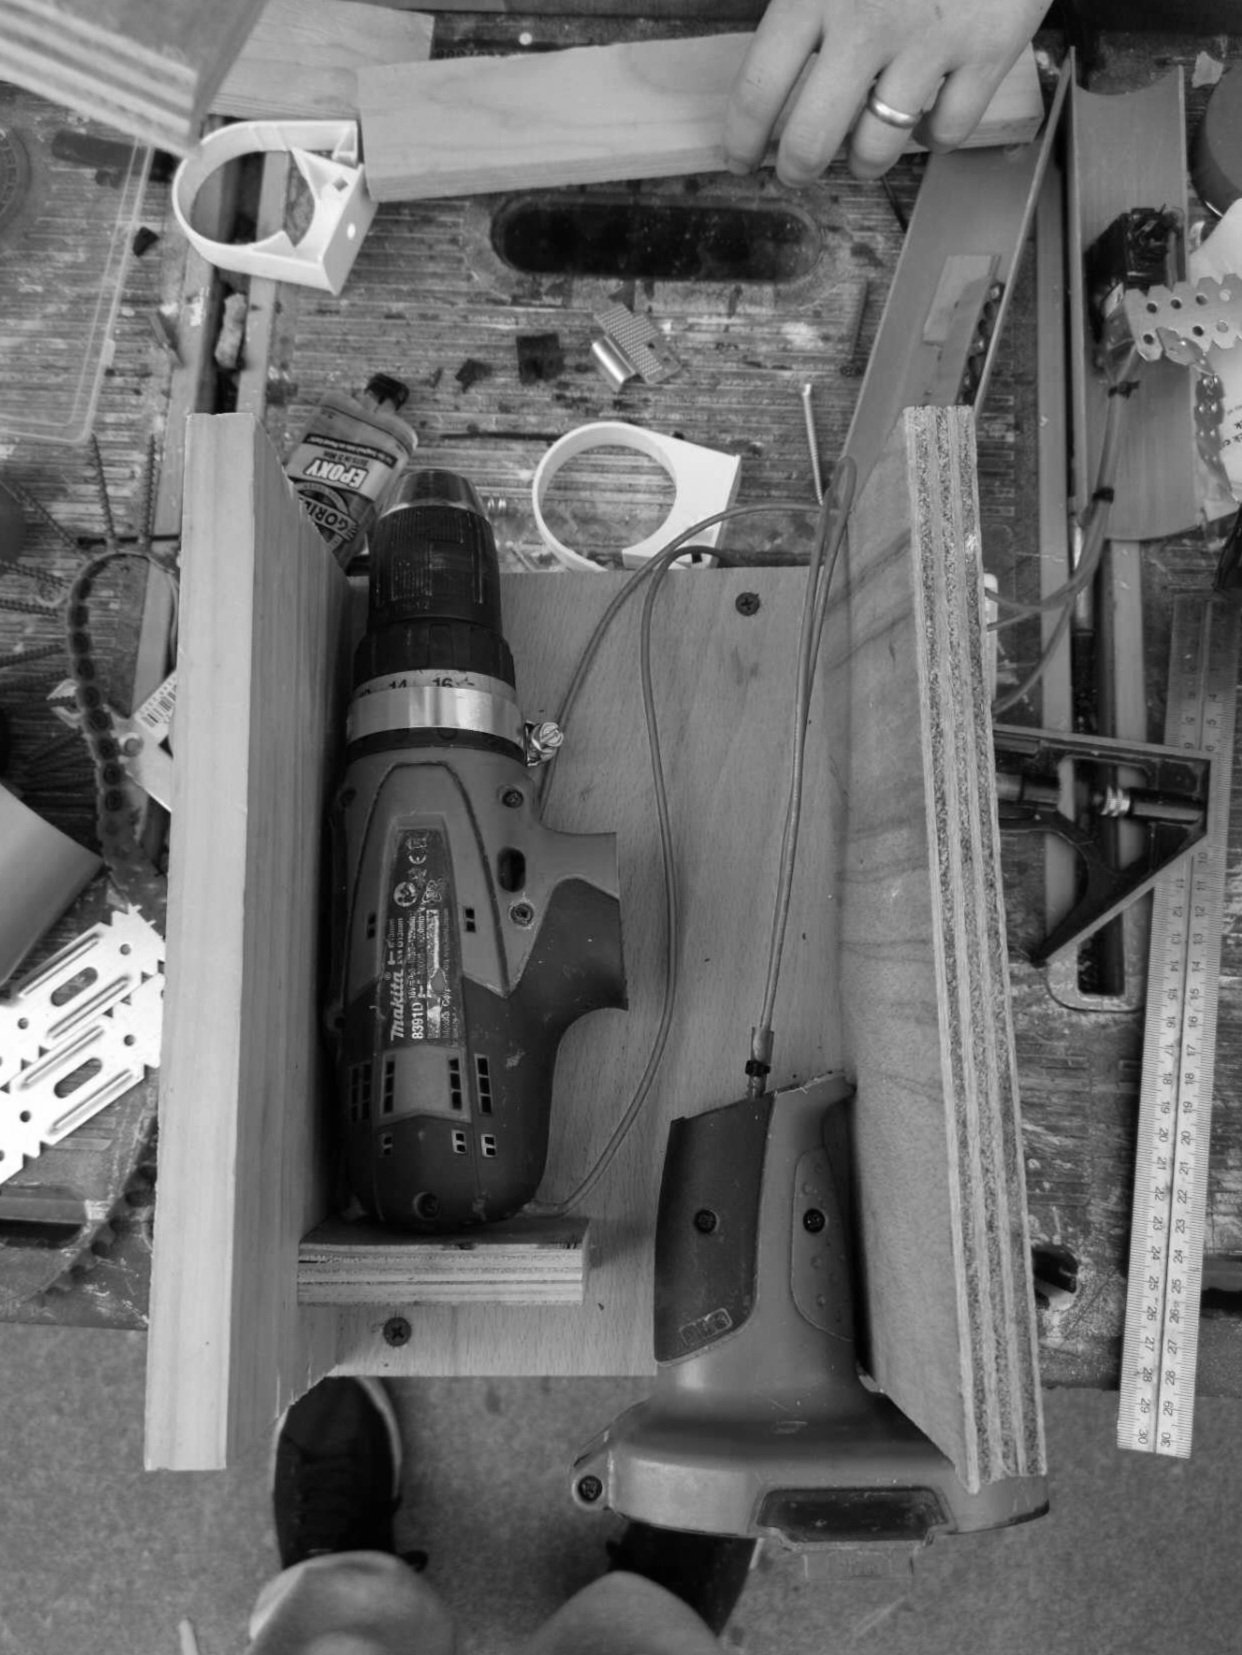
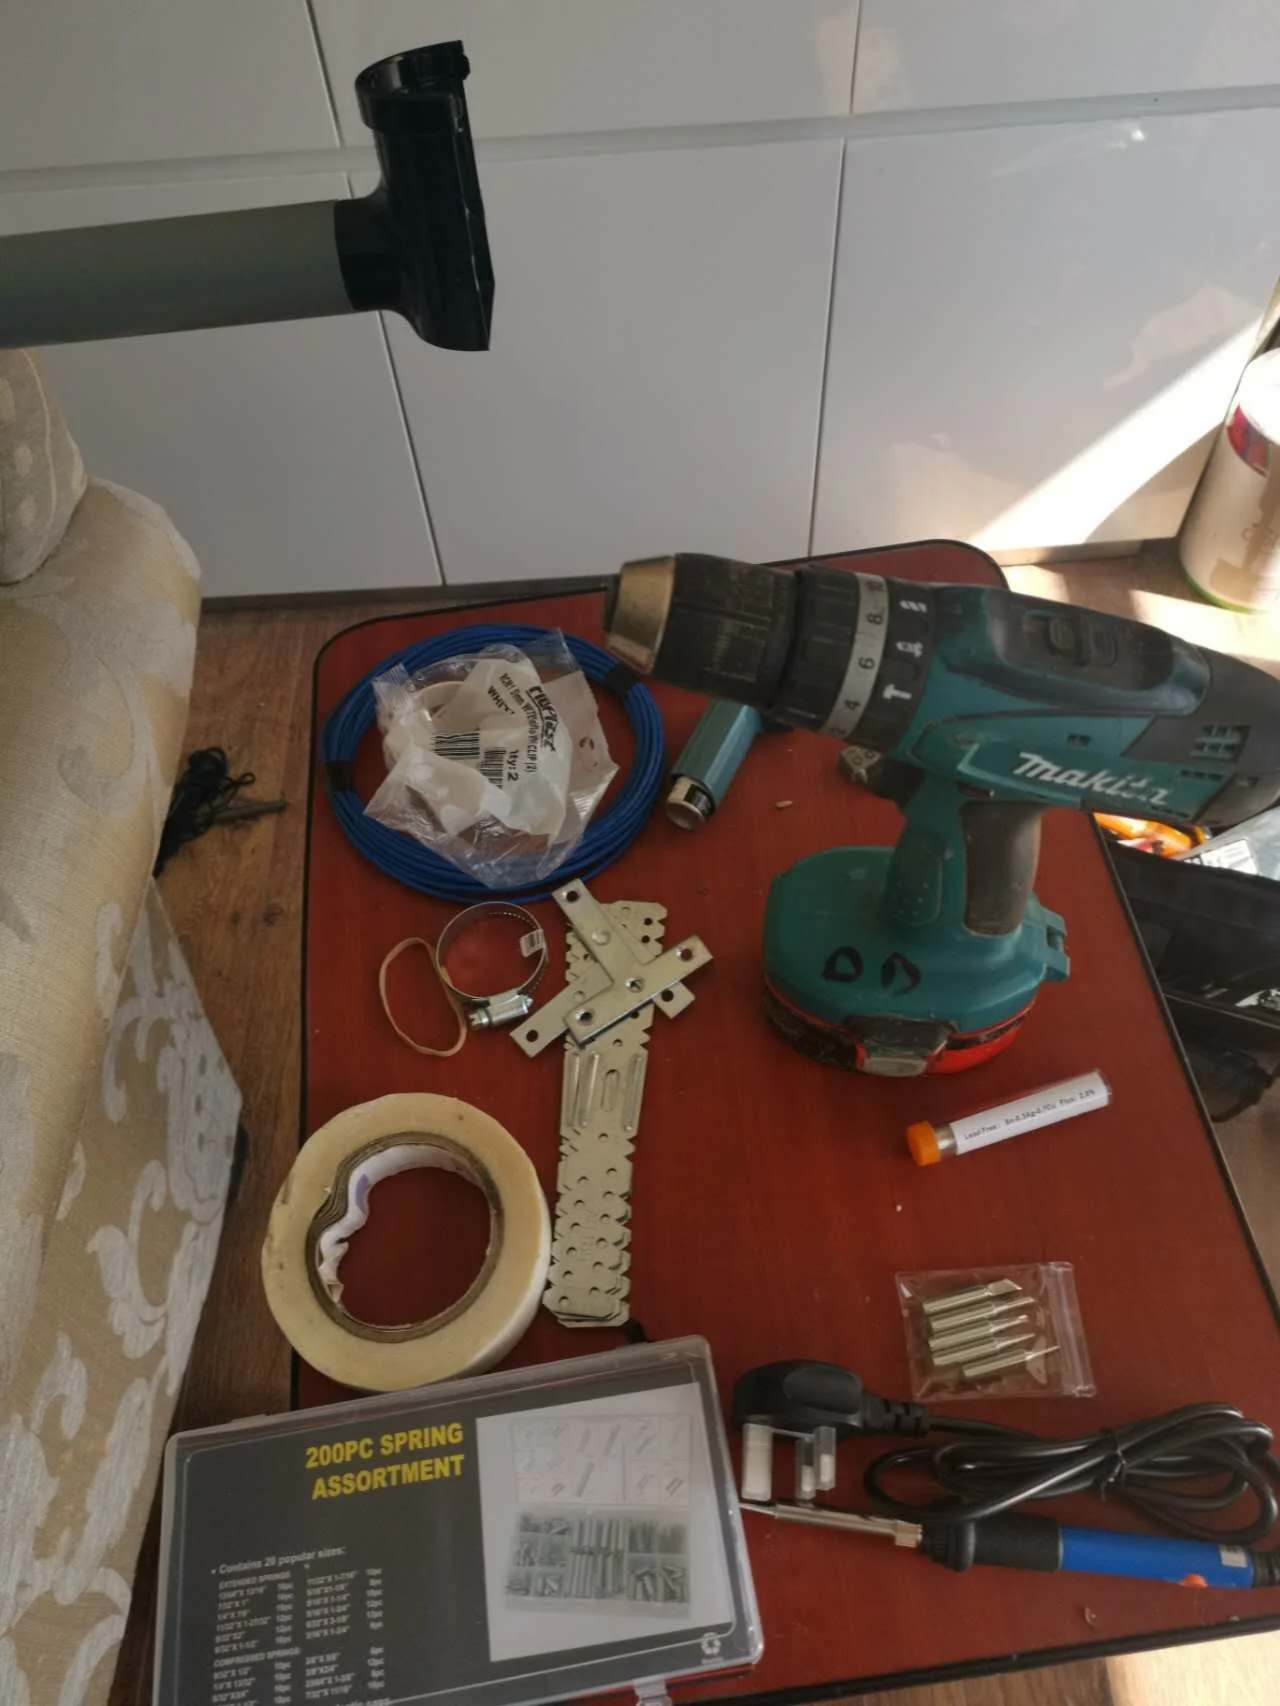
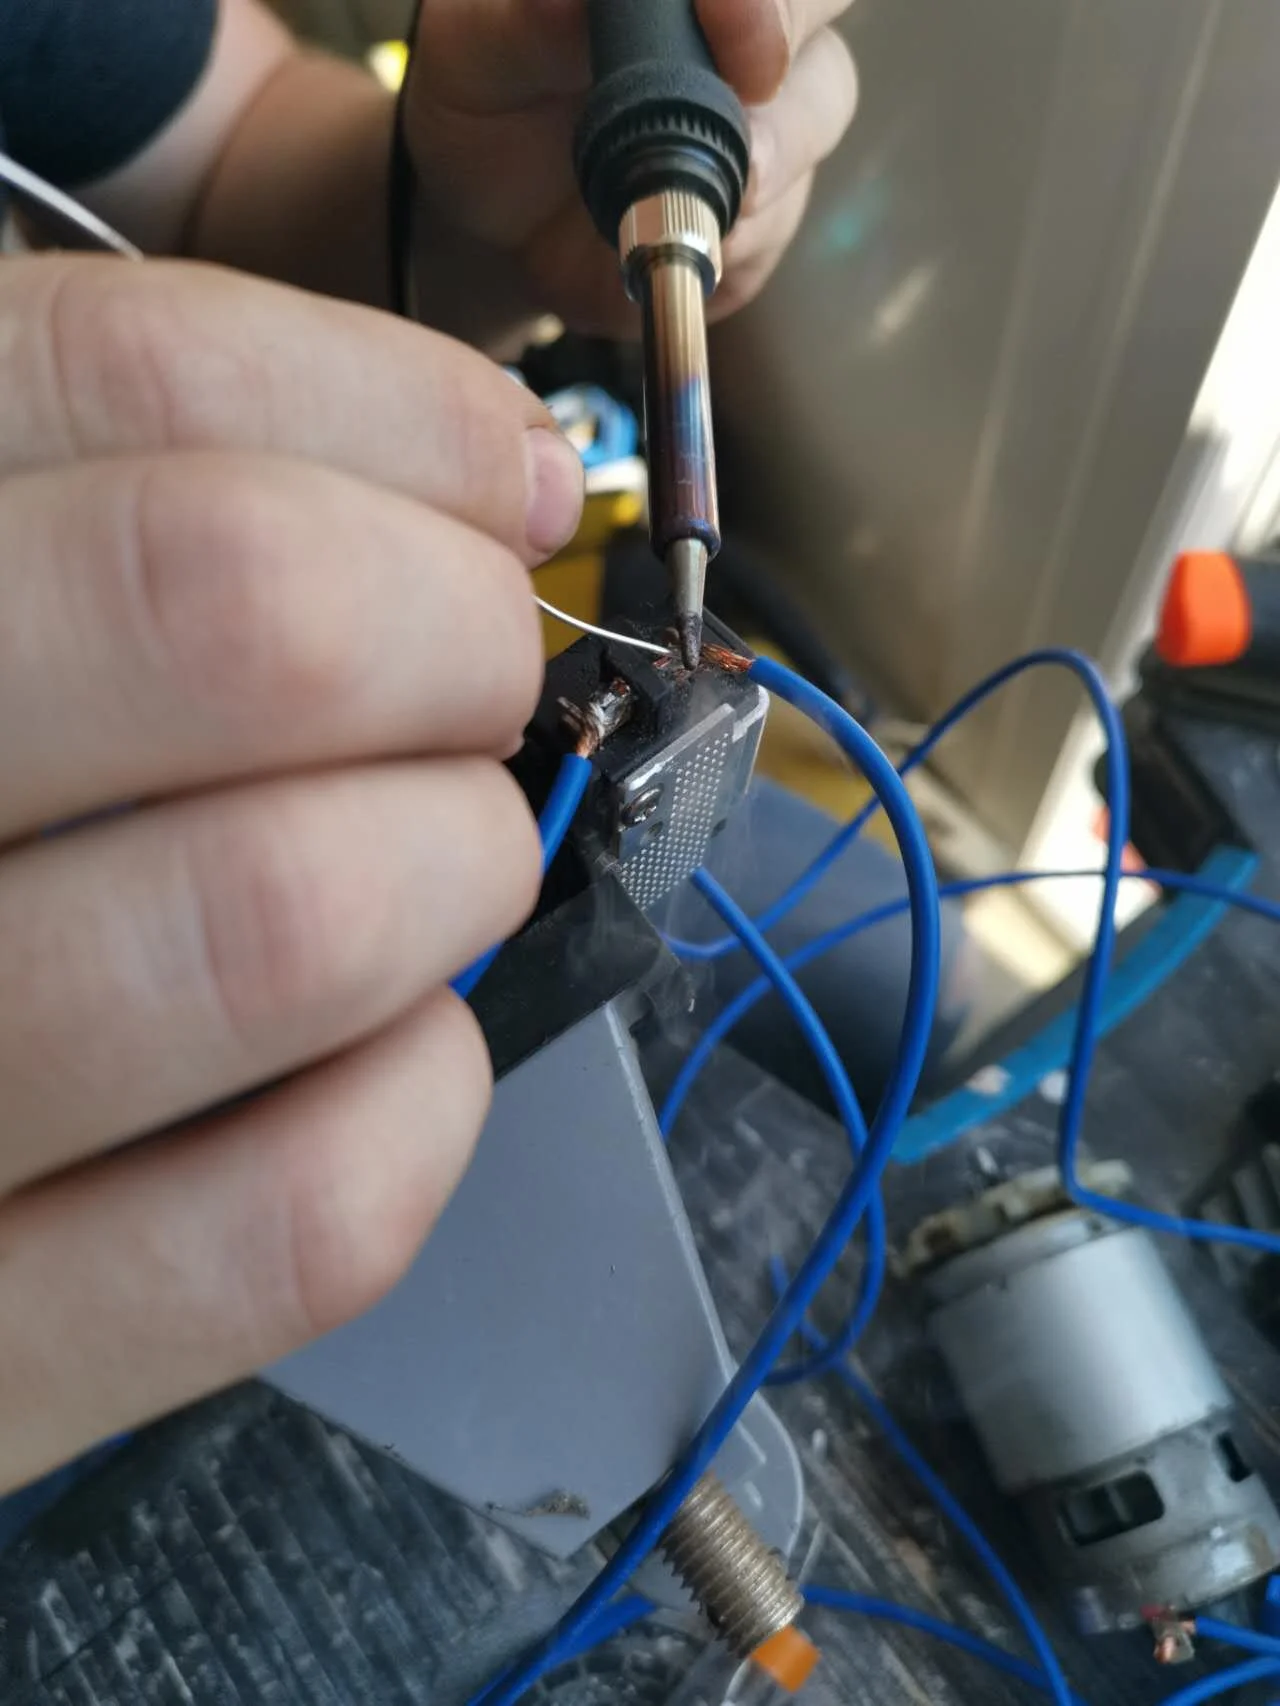
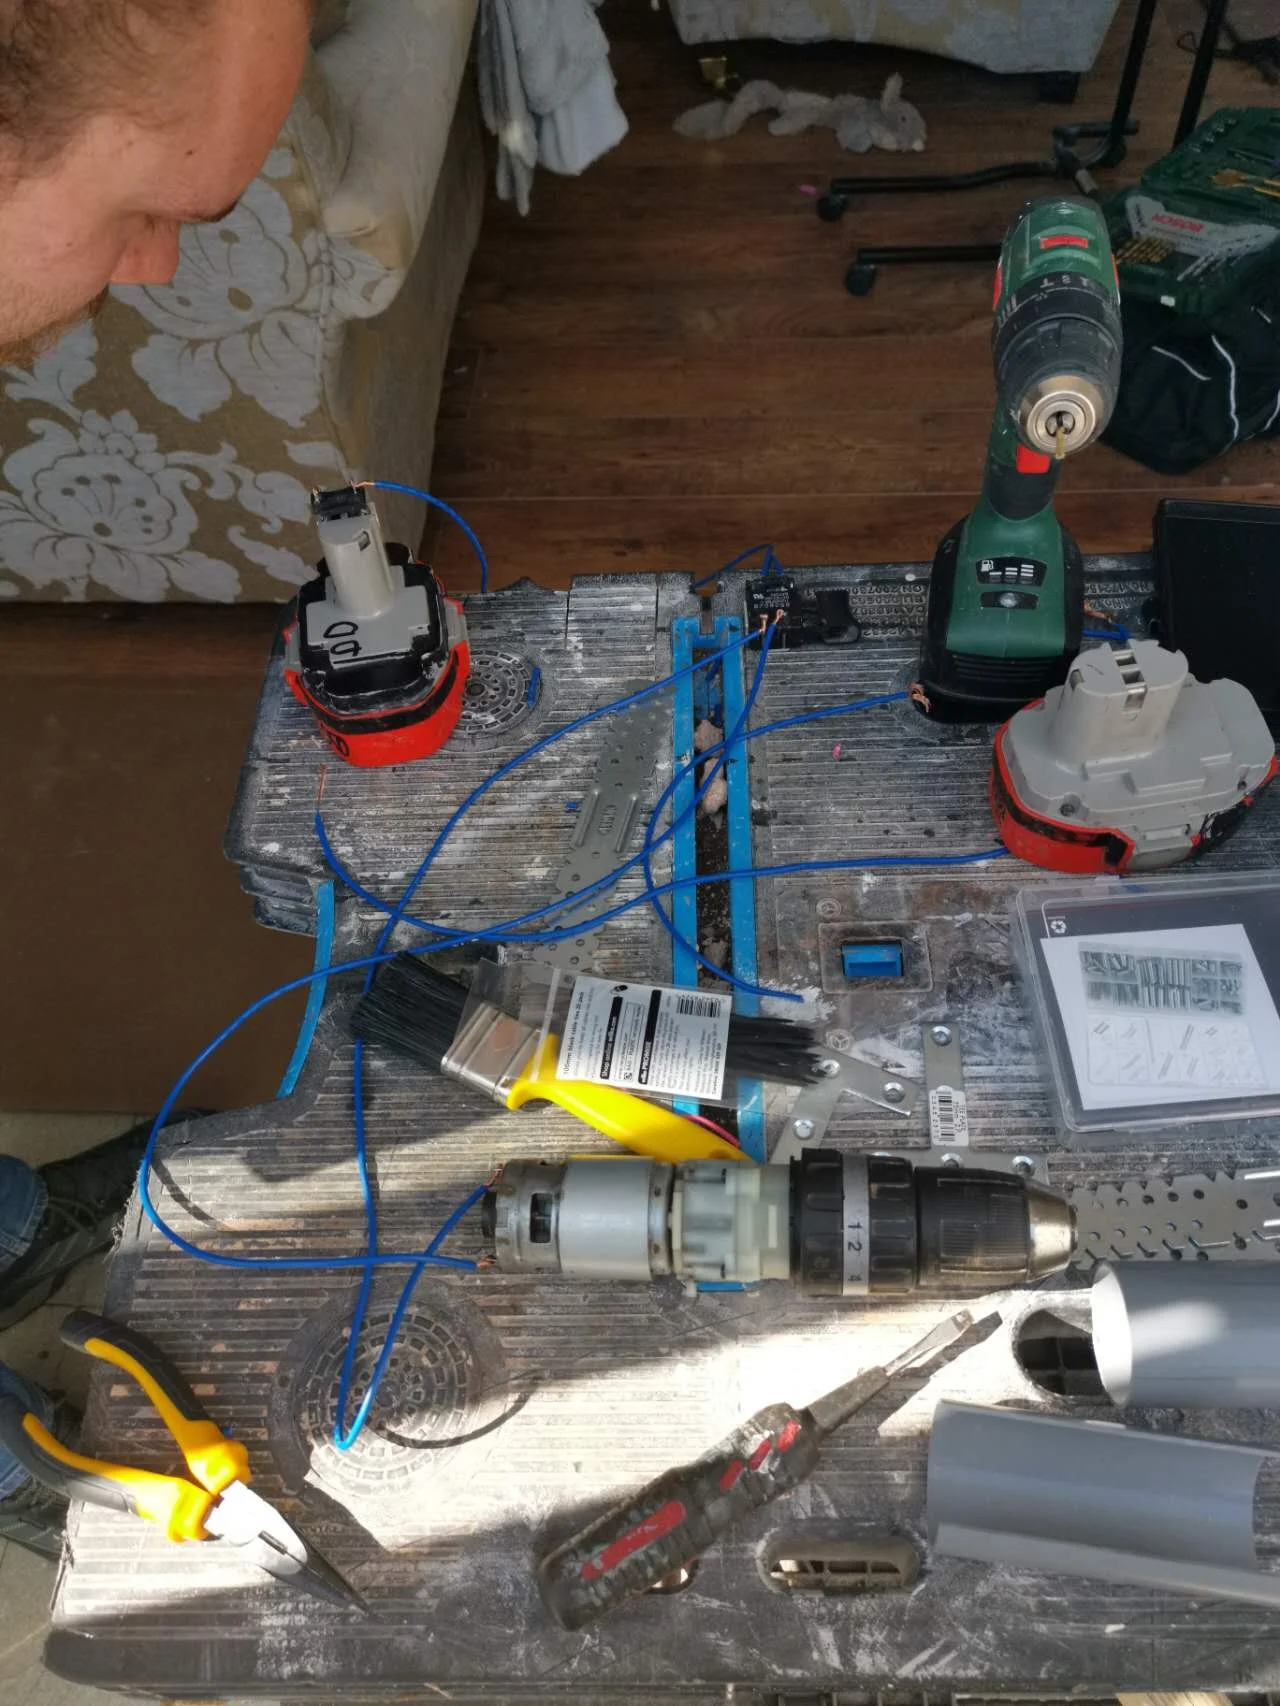
Deconstruction
Due to limited funding at the time of construction, rather than sourcing stepper motors, building a new circuit board, and using more dedicated components, I decided to take apart a drill. The aim of this prototype was to test whether a variable-speed motor would work using the built-in Push Assist. This simple mechanism, integrated into a drill, was exactly what I needed.
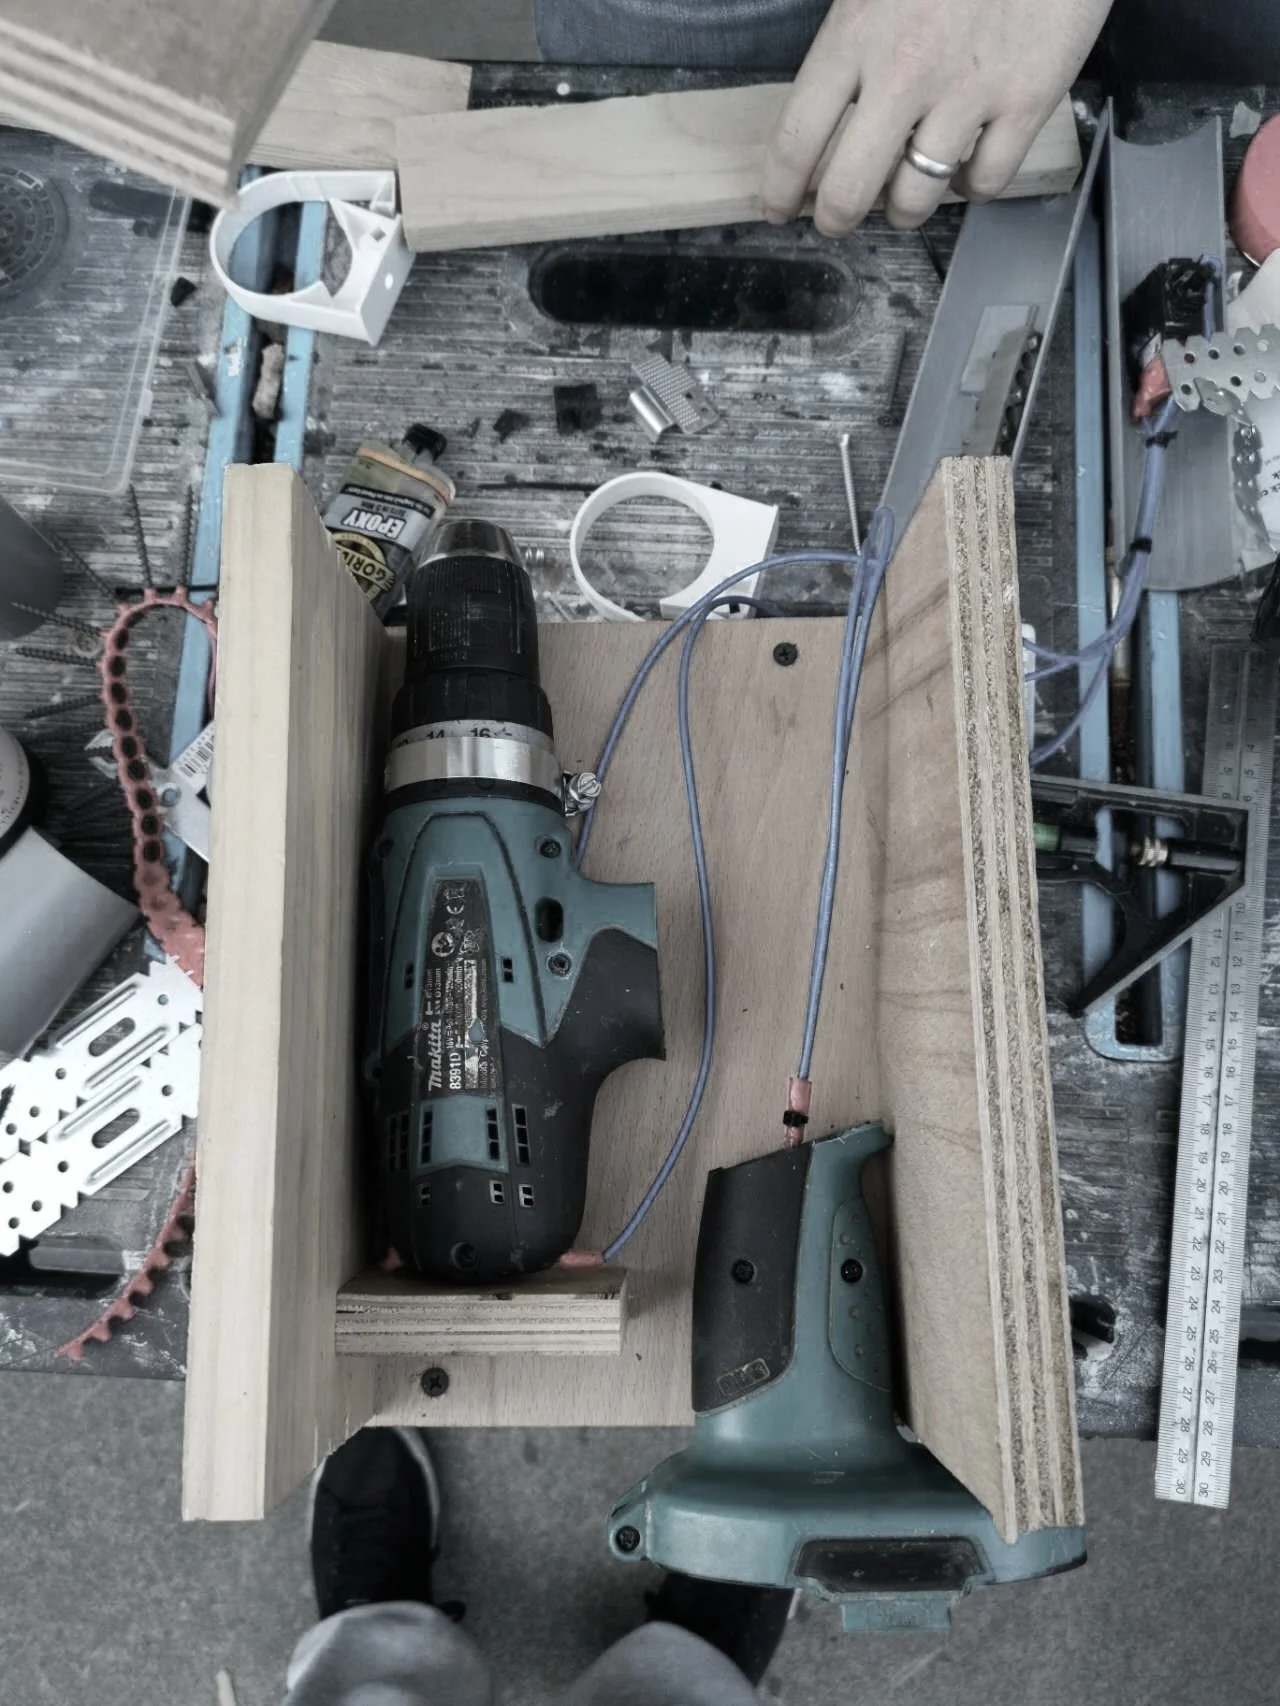
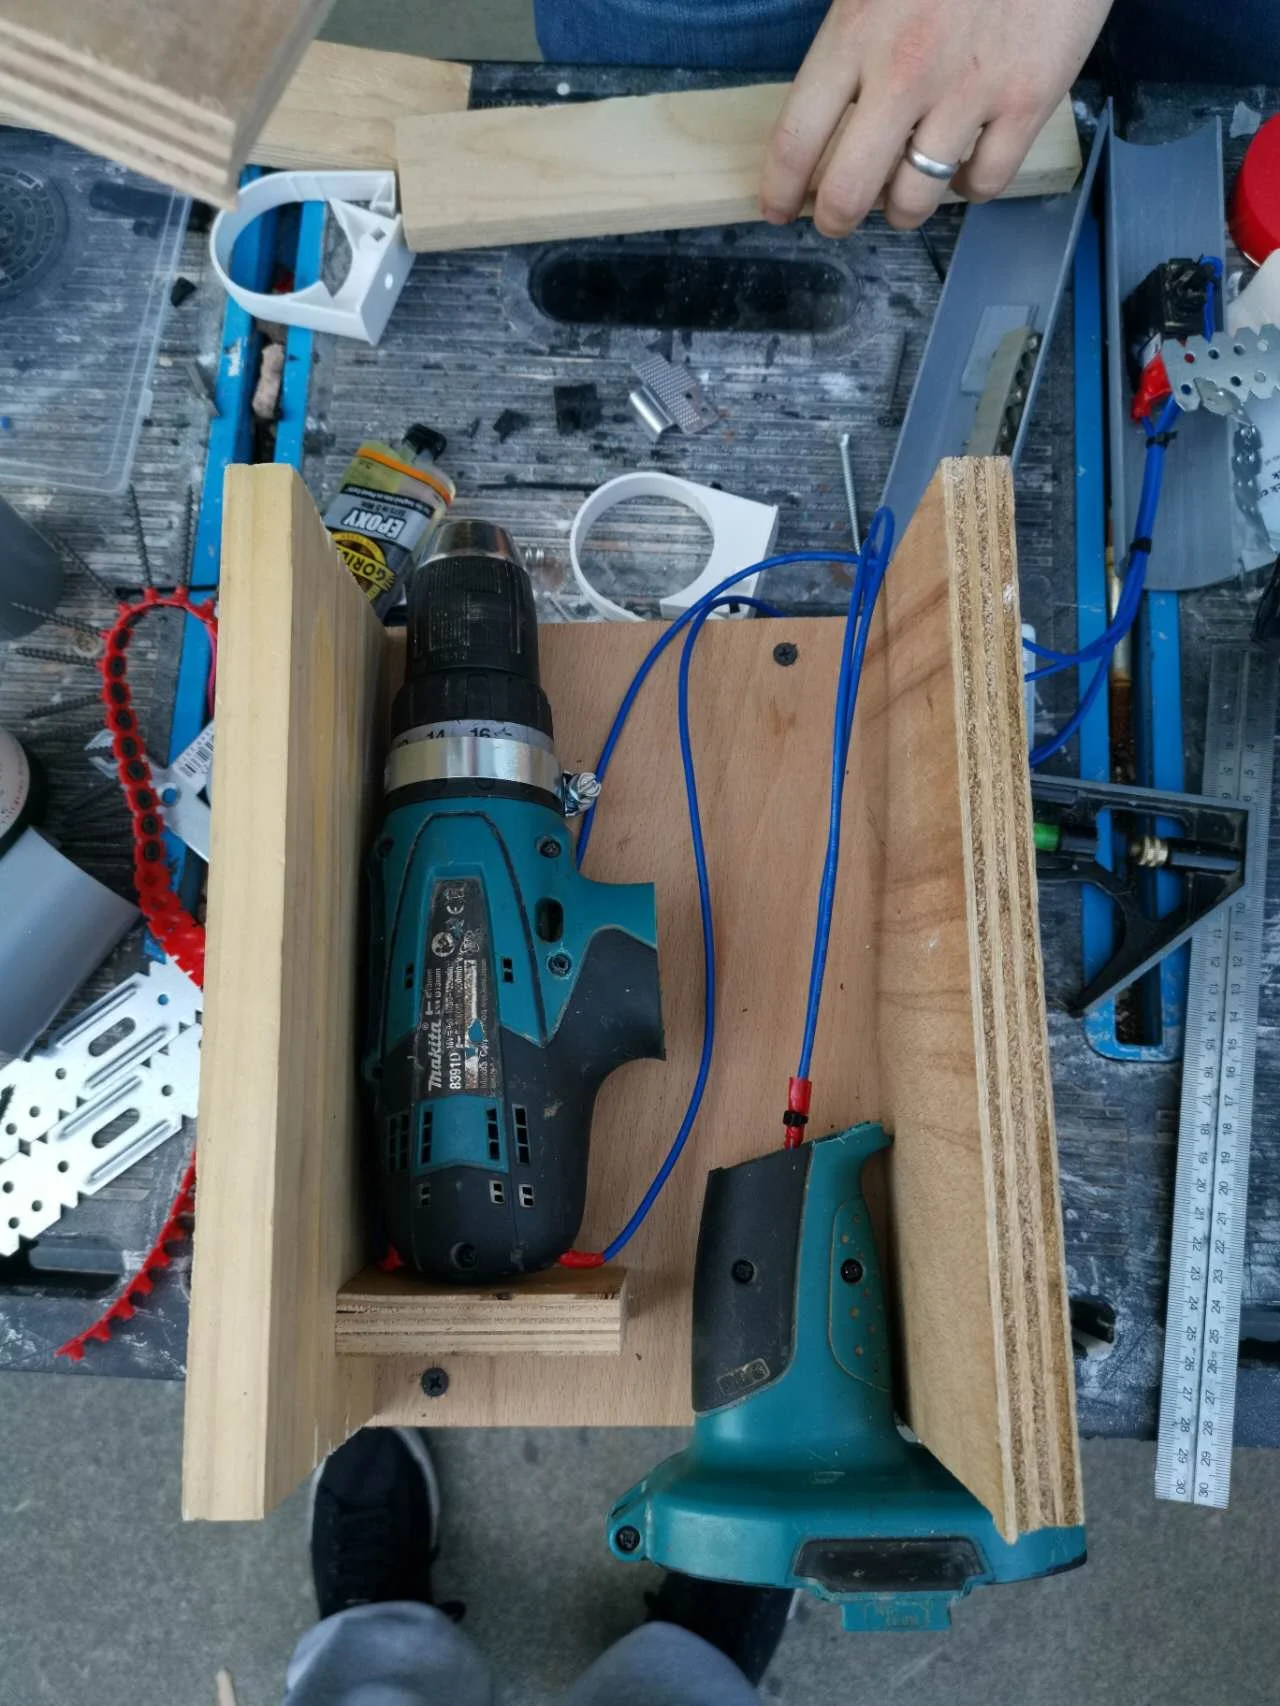
Assemble
The housing needed to be built to ensure that anyone could use the test rig and understand the simplicity of the Push Assist. This straightforward construction prioritised functionality over aesthetics.
‘I would rather use something functional than something pretty and useless at this stage.’
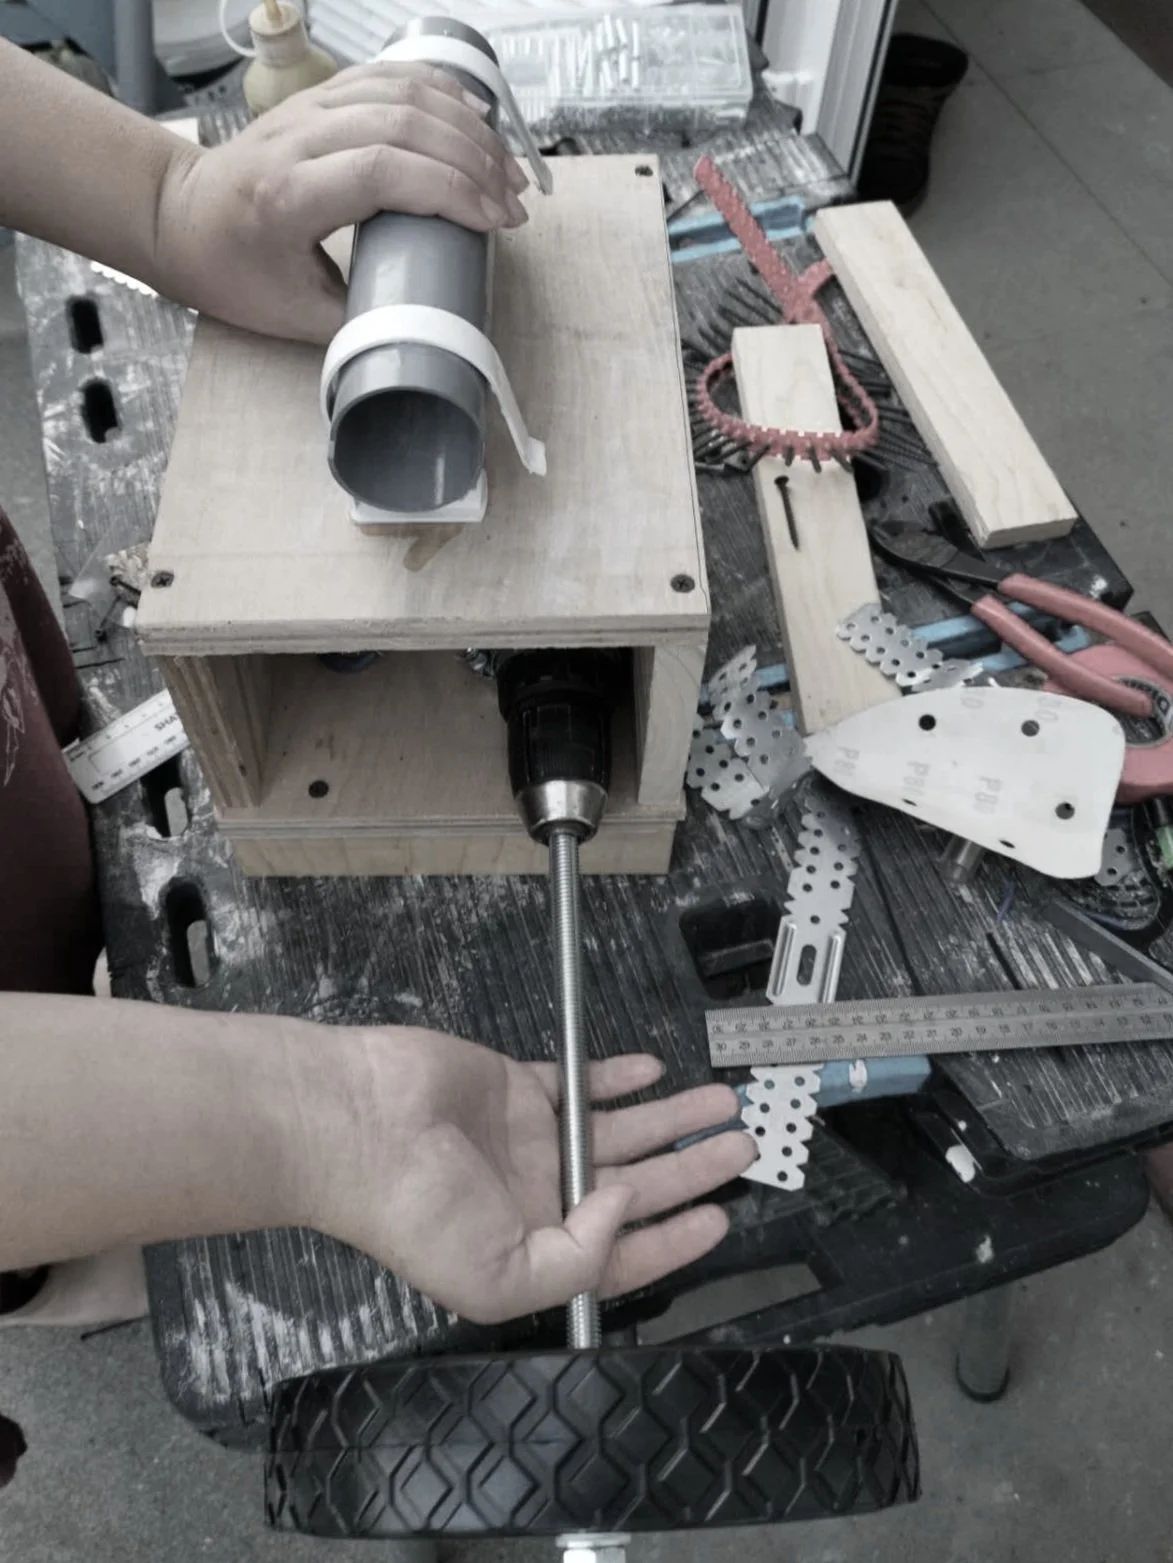
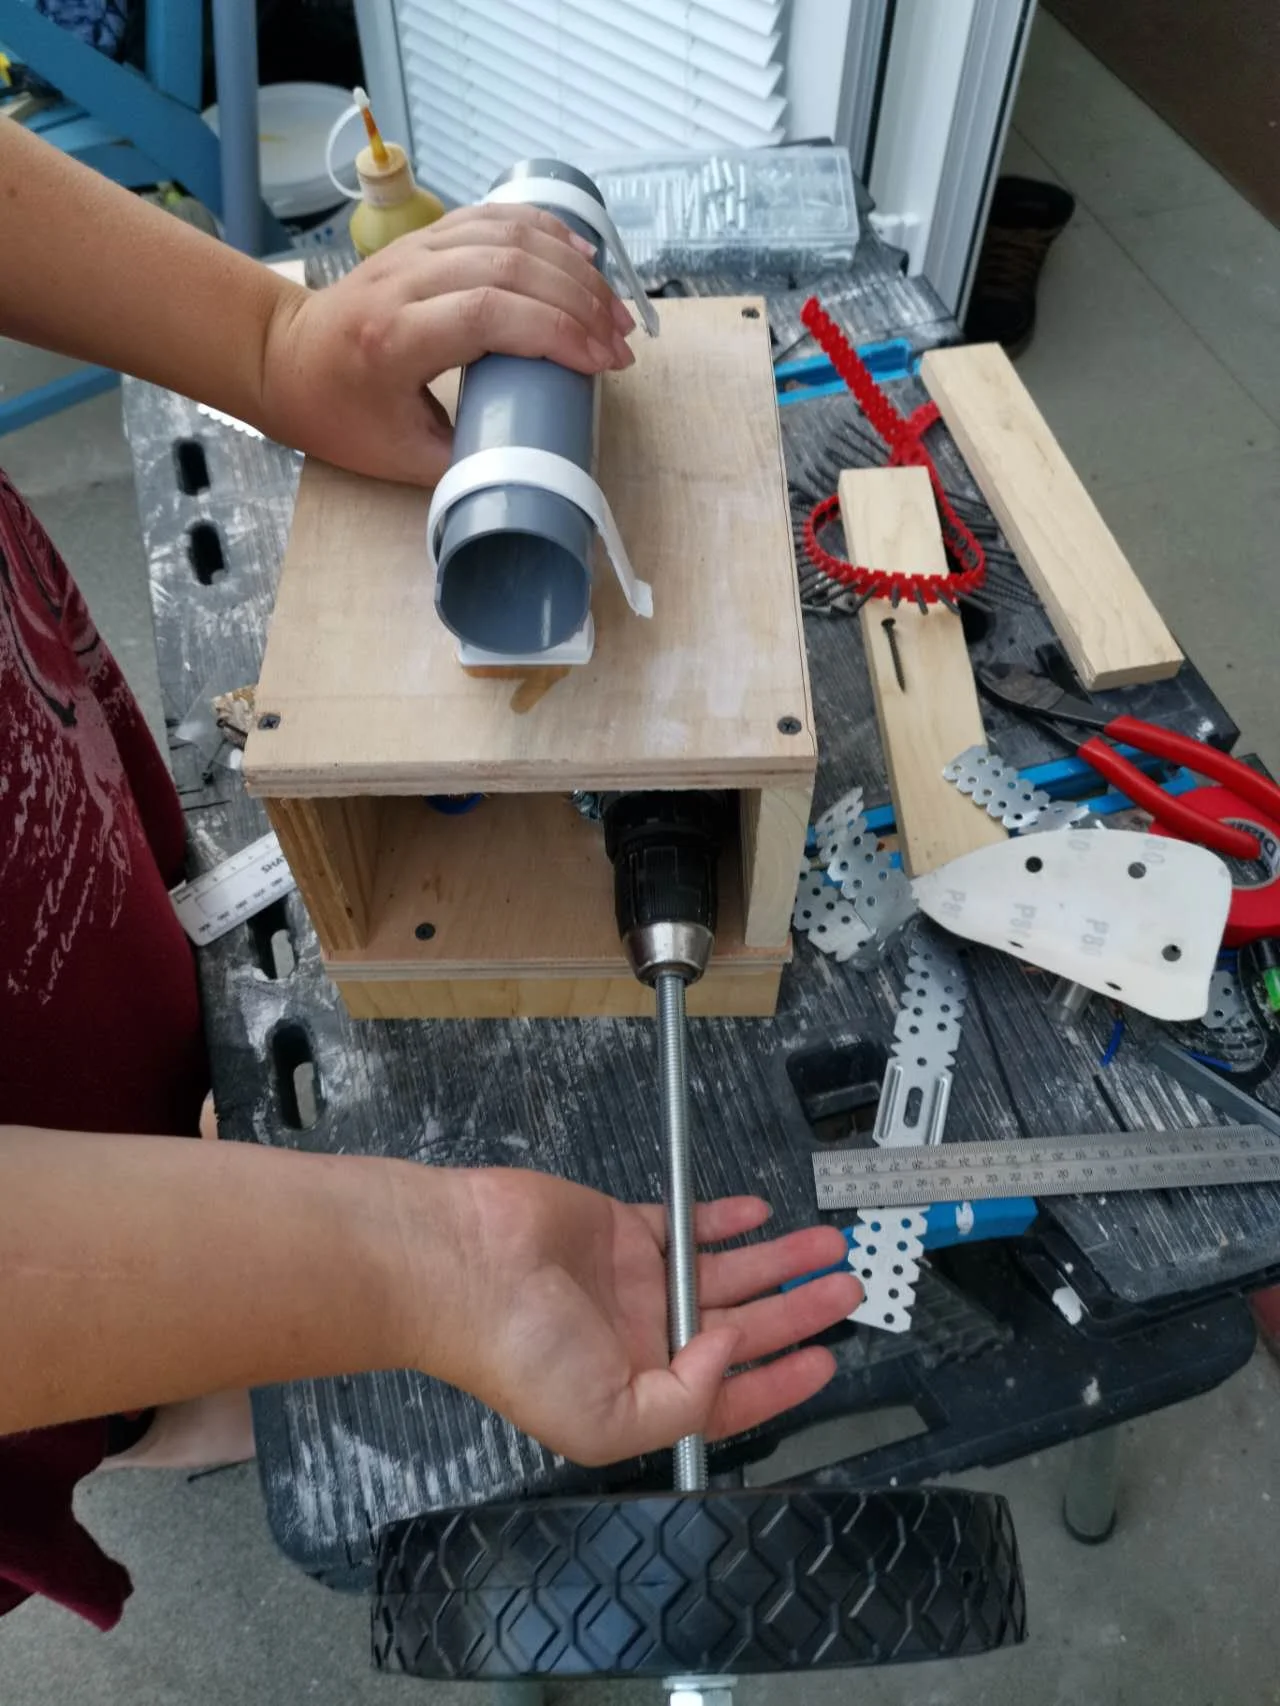
Proof The Concept
This is the final outcome! By pressing down on the mock handle with varying pressure, you're able to control the speed of the Push Assist. As you can see, it’s not perfect; however, it was purely designed to prove that something like this could work!
SEE VIDEO BELOW
Make it Move


Full Scale Mockups
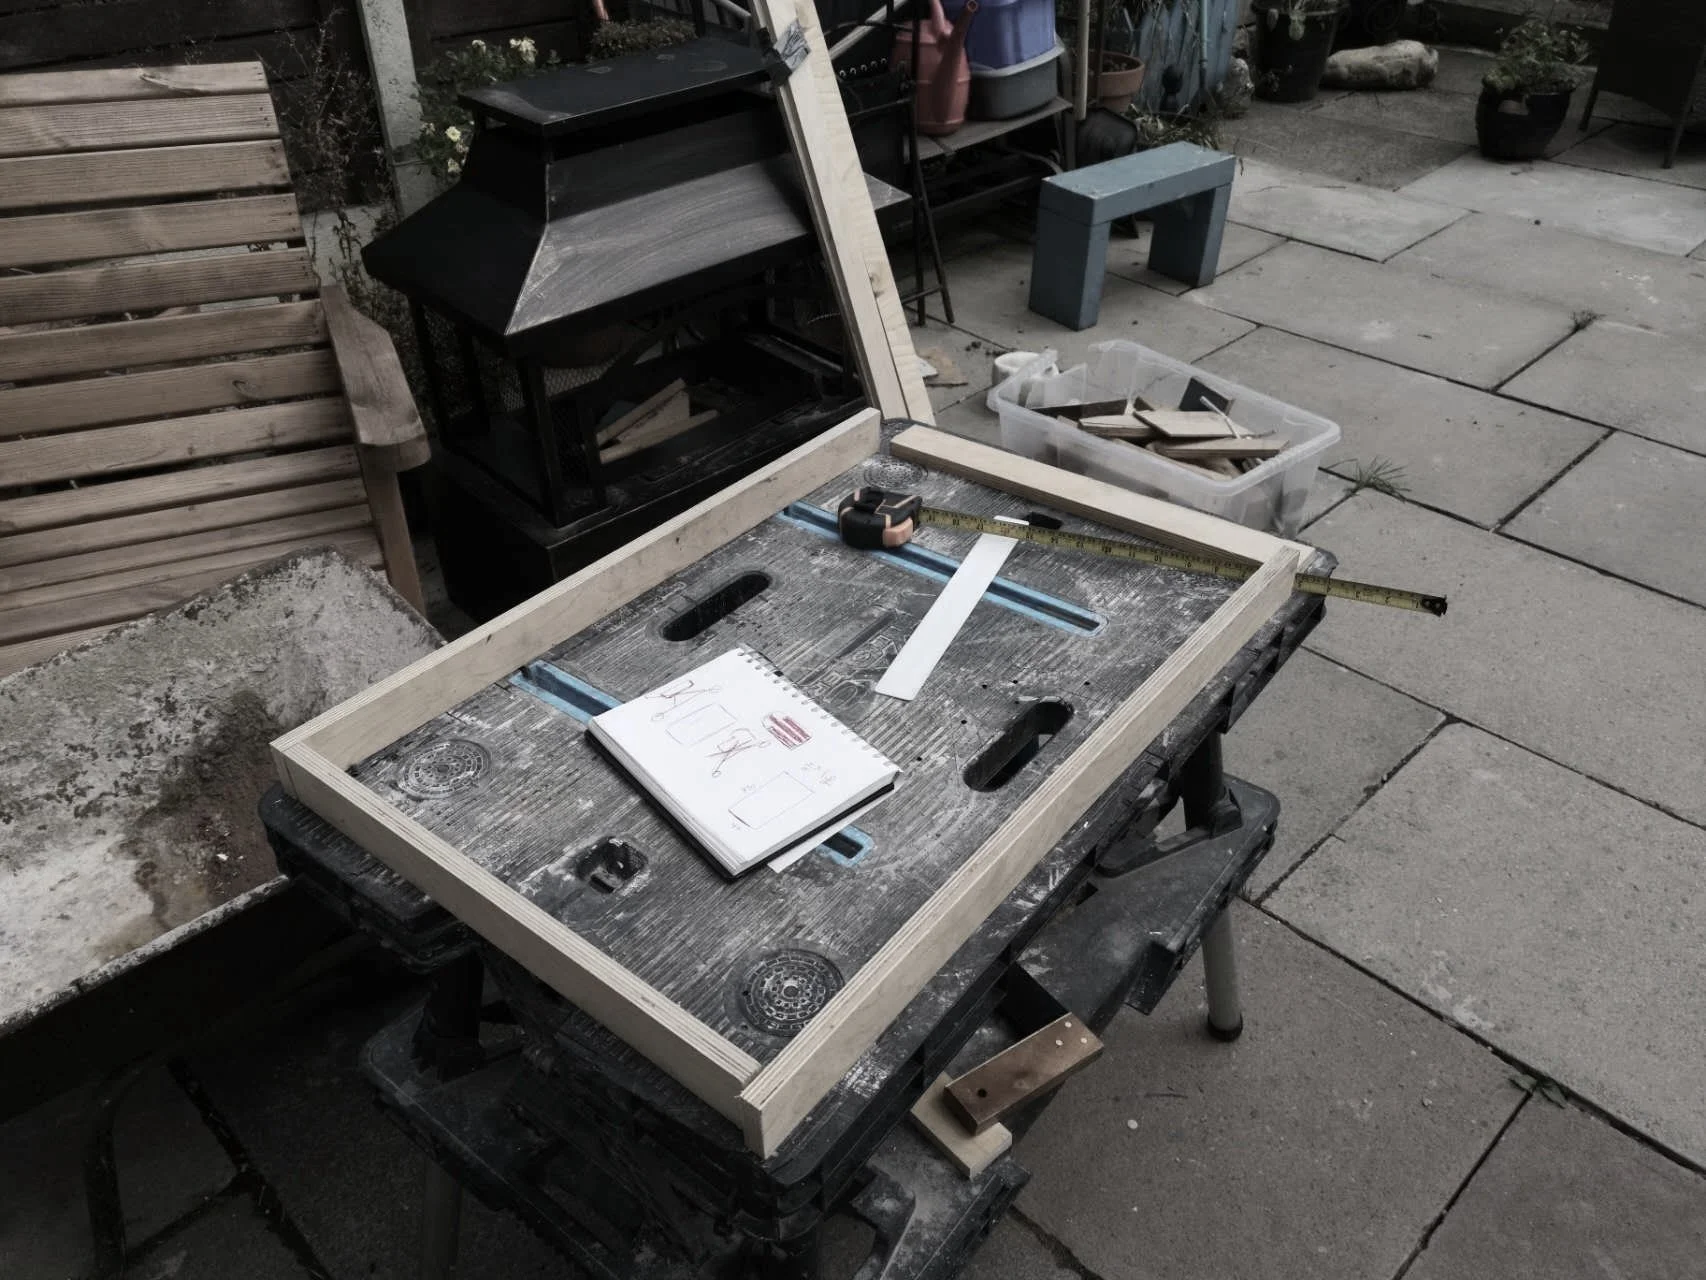
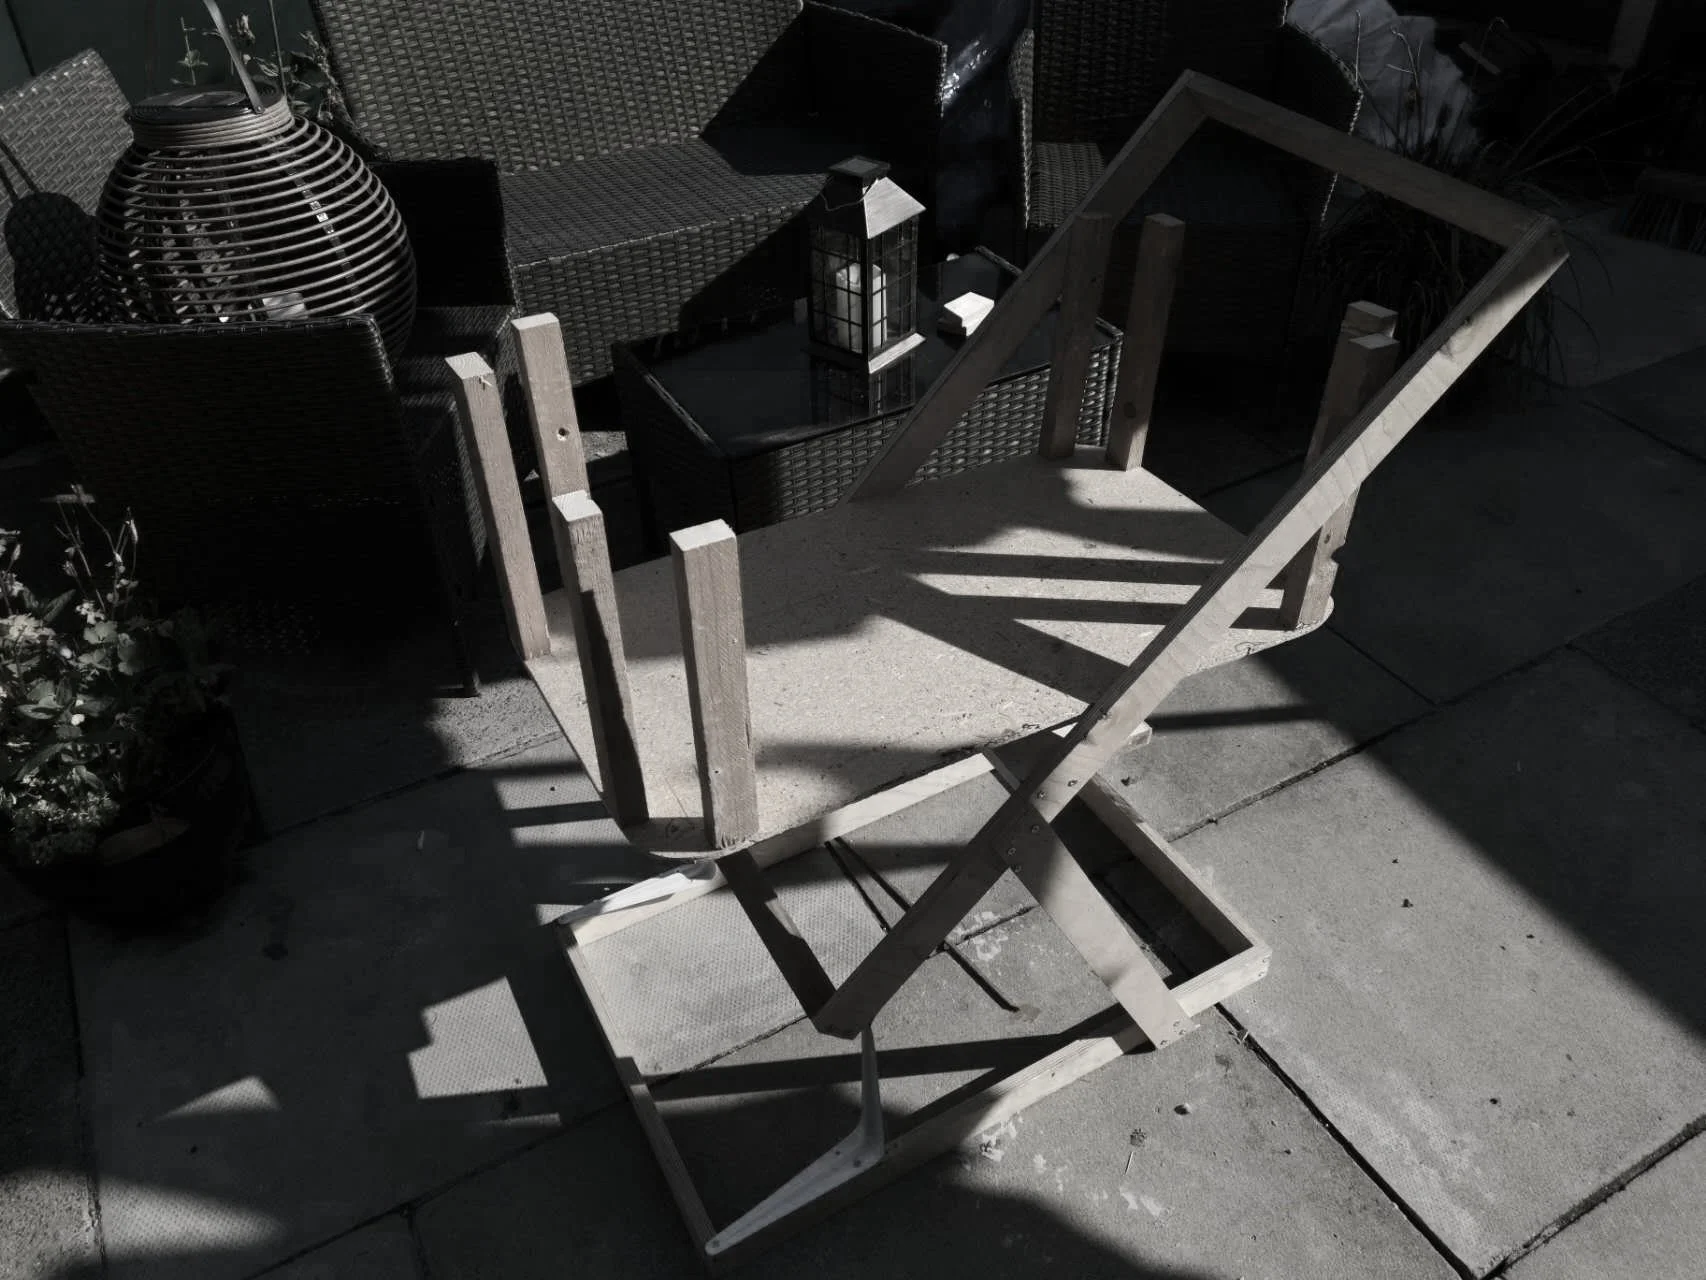
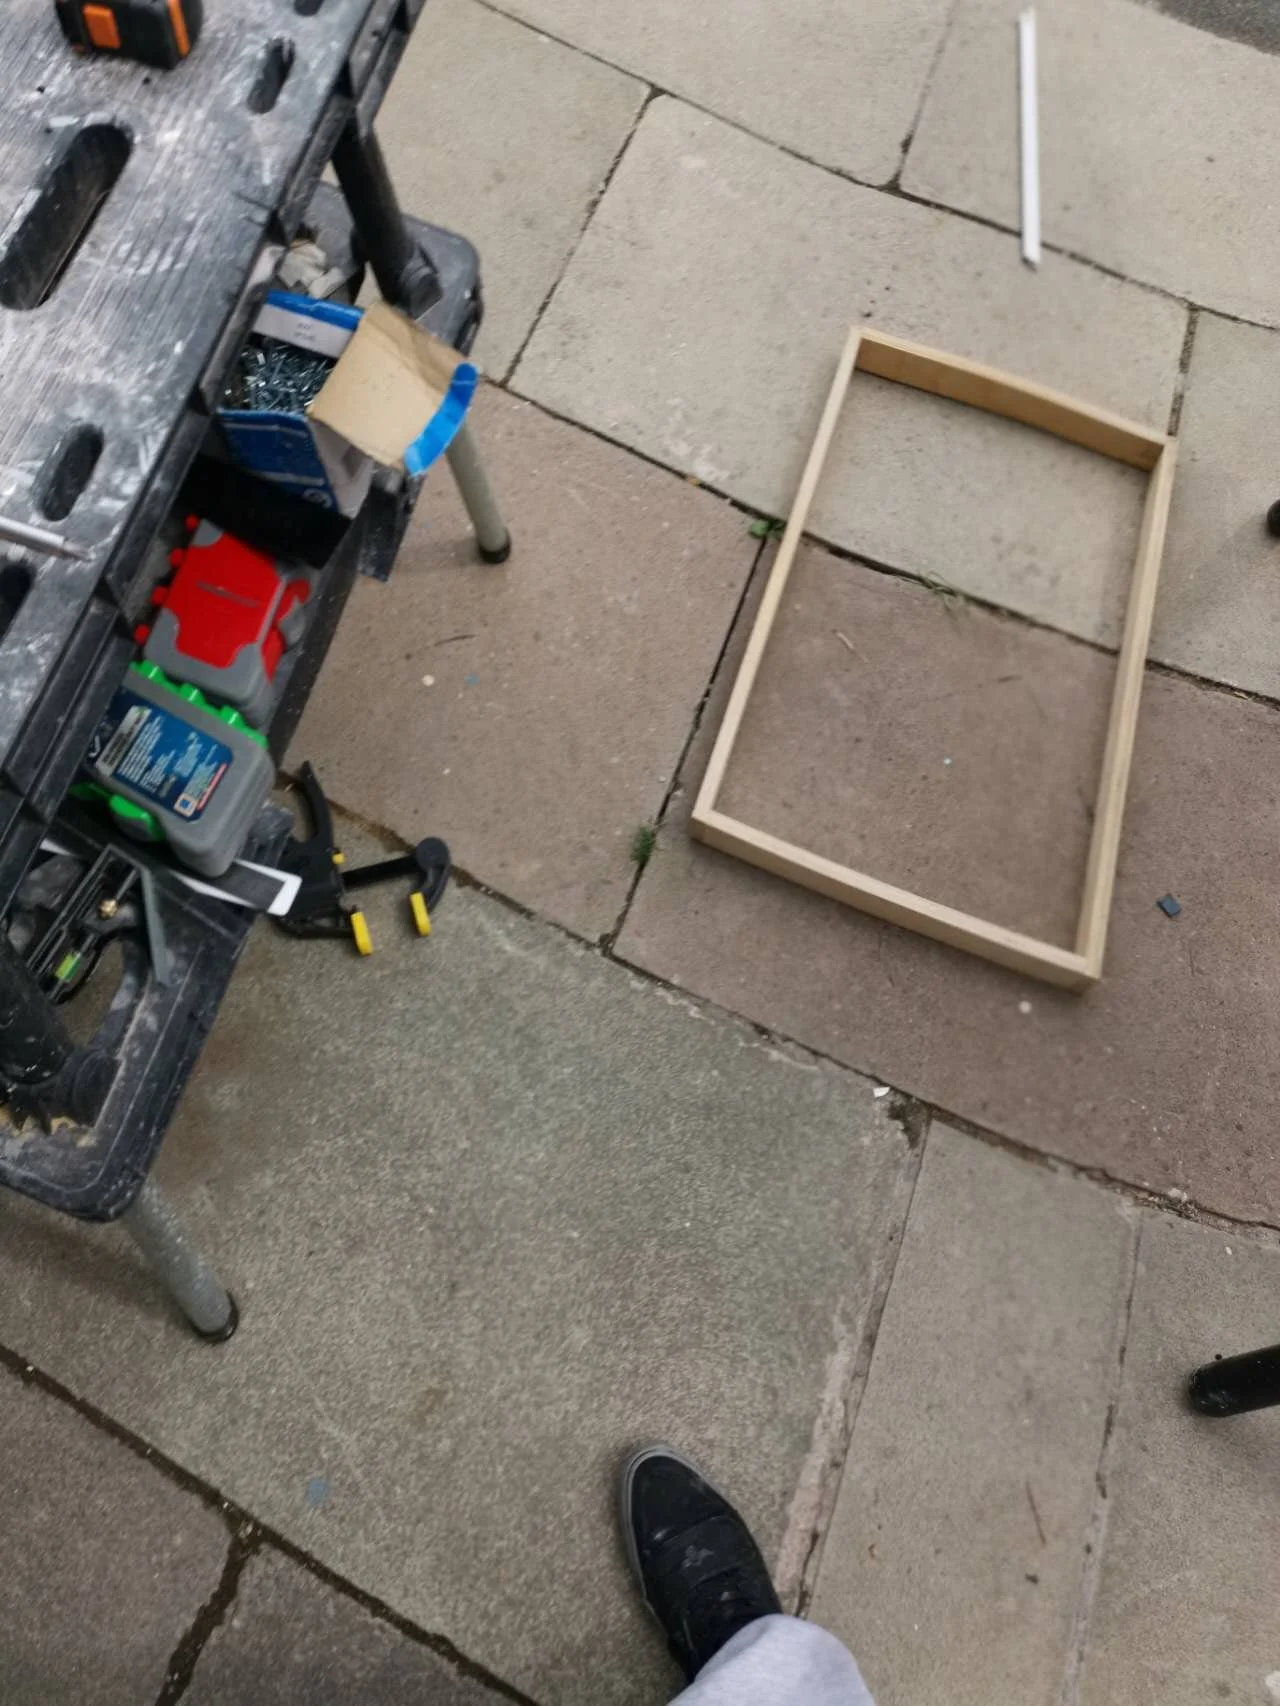
Planning
The purpose of this mock-up was to help me understand the form, shape, and angles of the pram design, supporting my sketching and further development. Although time-consuming—and not without a few splinters—it proved to be invaluable.
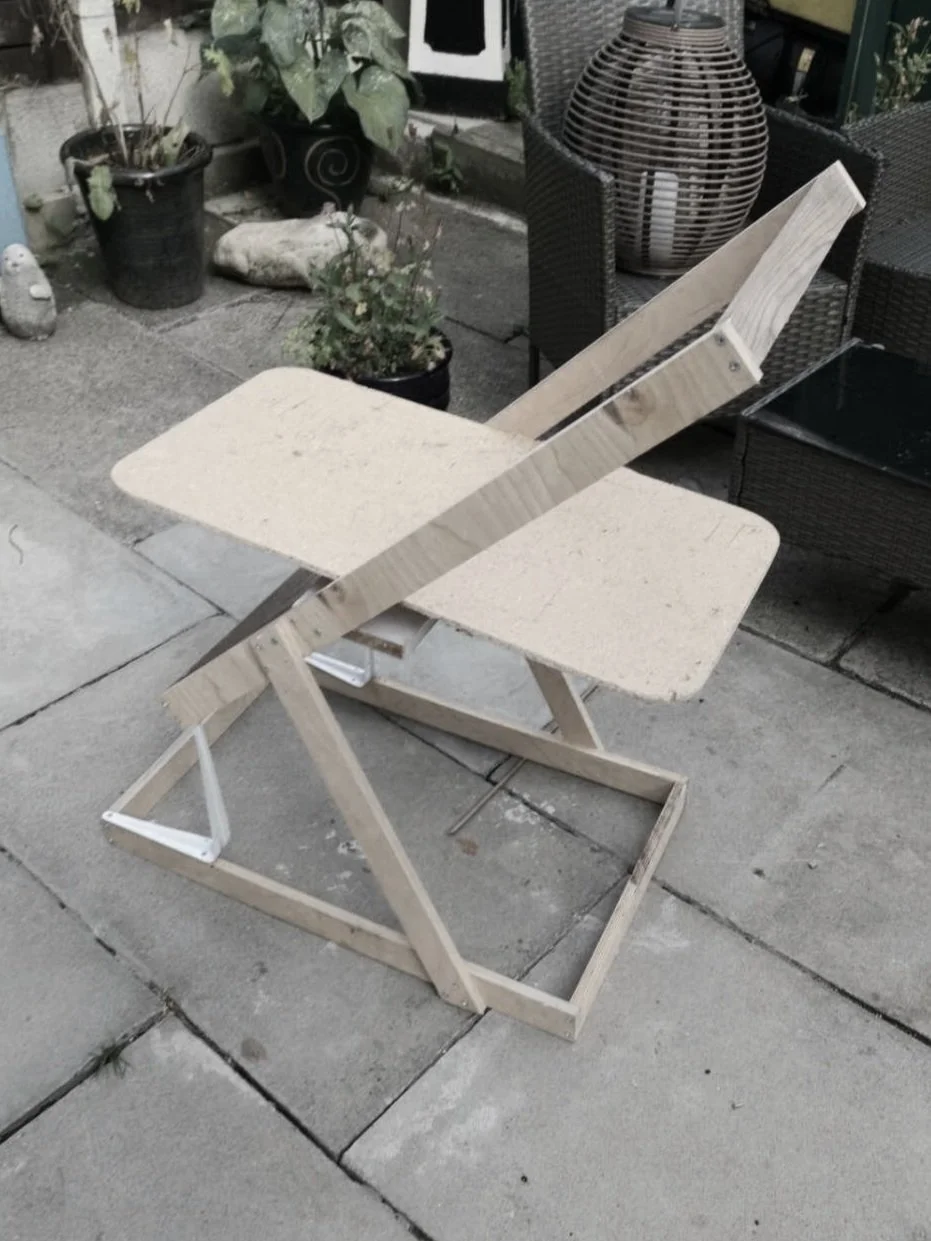
Angle
The main challenge I faced during the design process was determining the correct angle for the pram. Its primary function was to eventually transform into a mobility walker, and to achieve this, a full-scale mock-up was necessary to establish the correct positioning. The use of shelf brackets allowed me to bend and adjust the angle before fixing it in place.
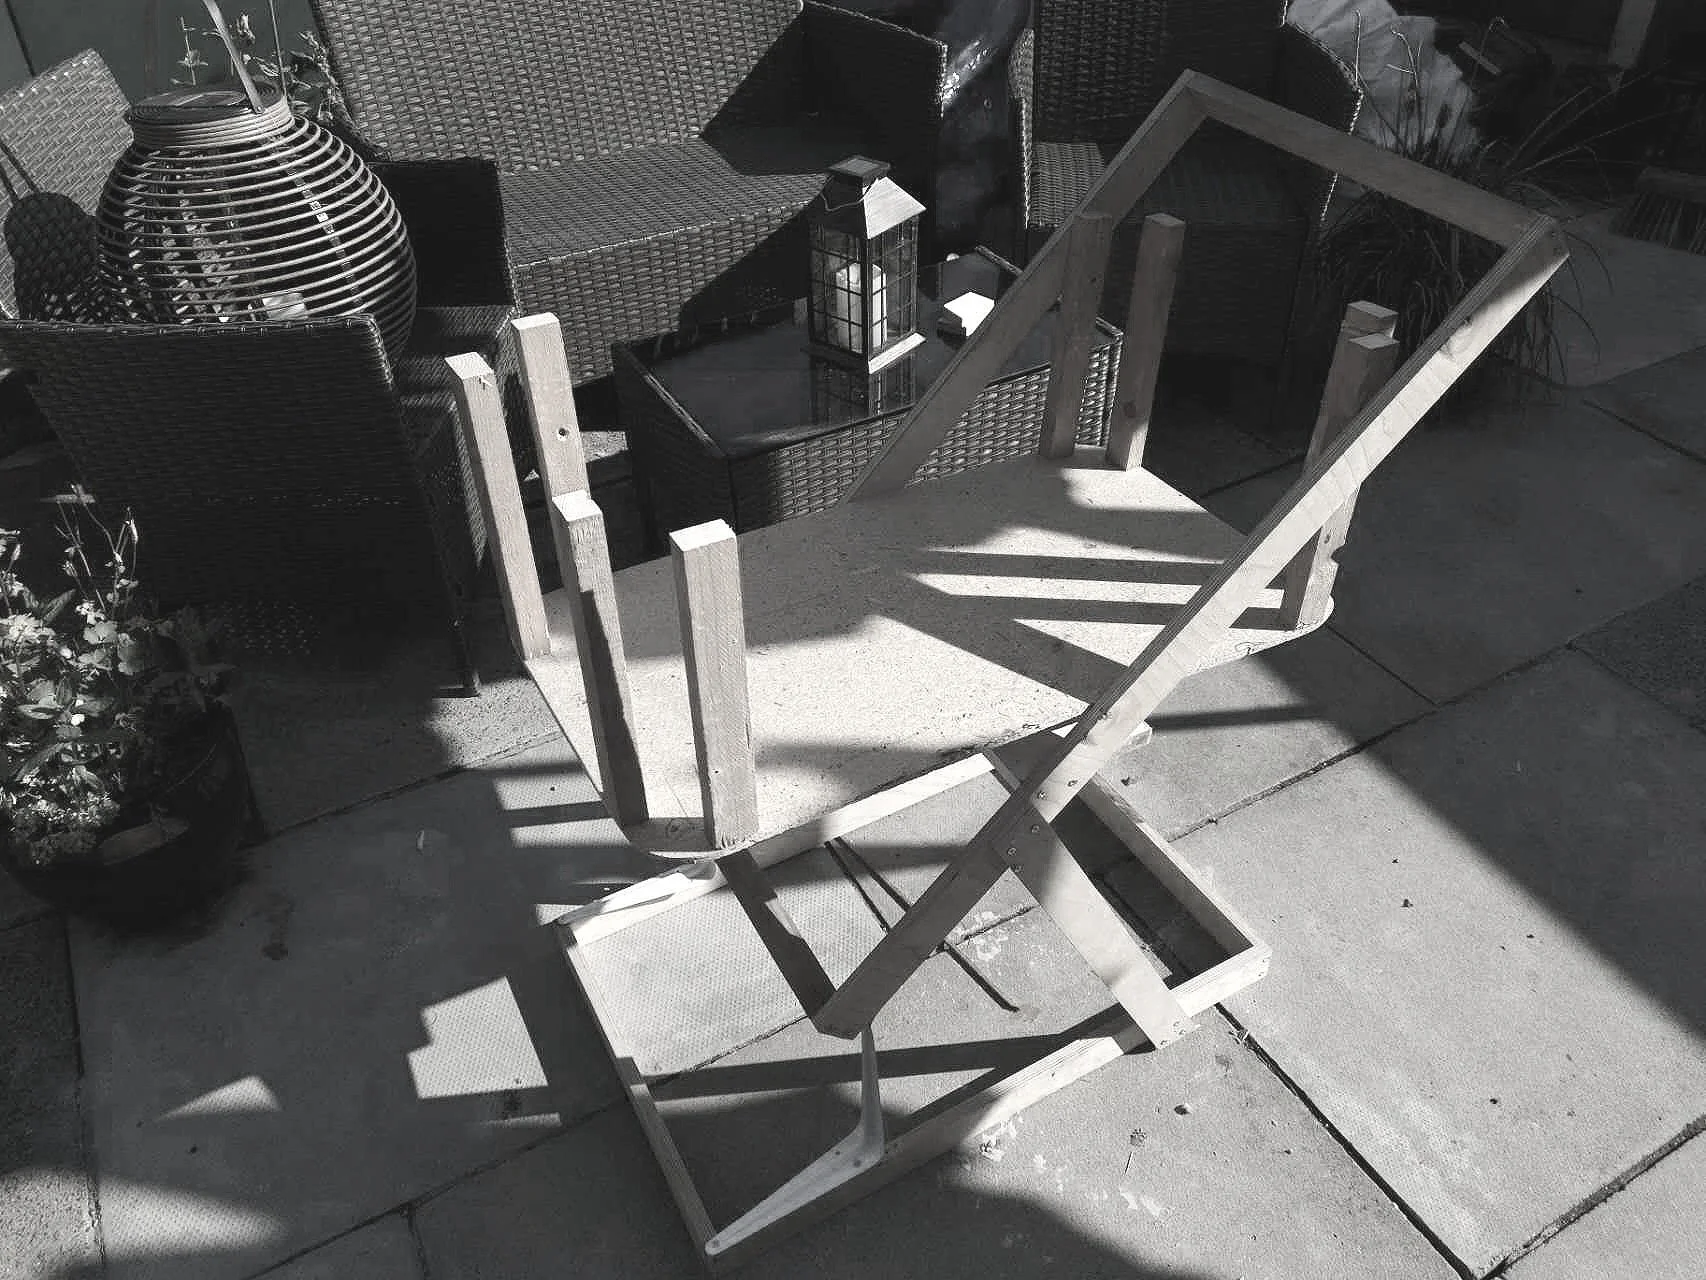
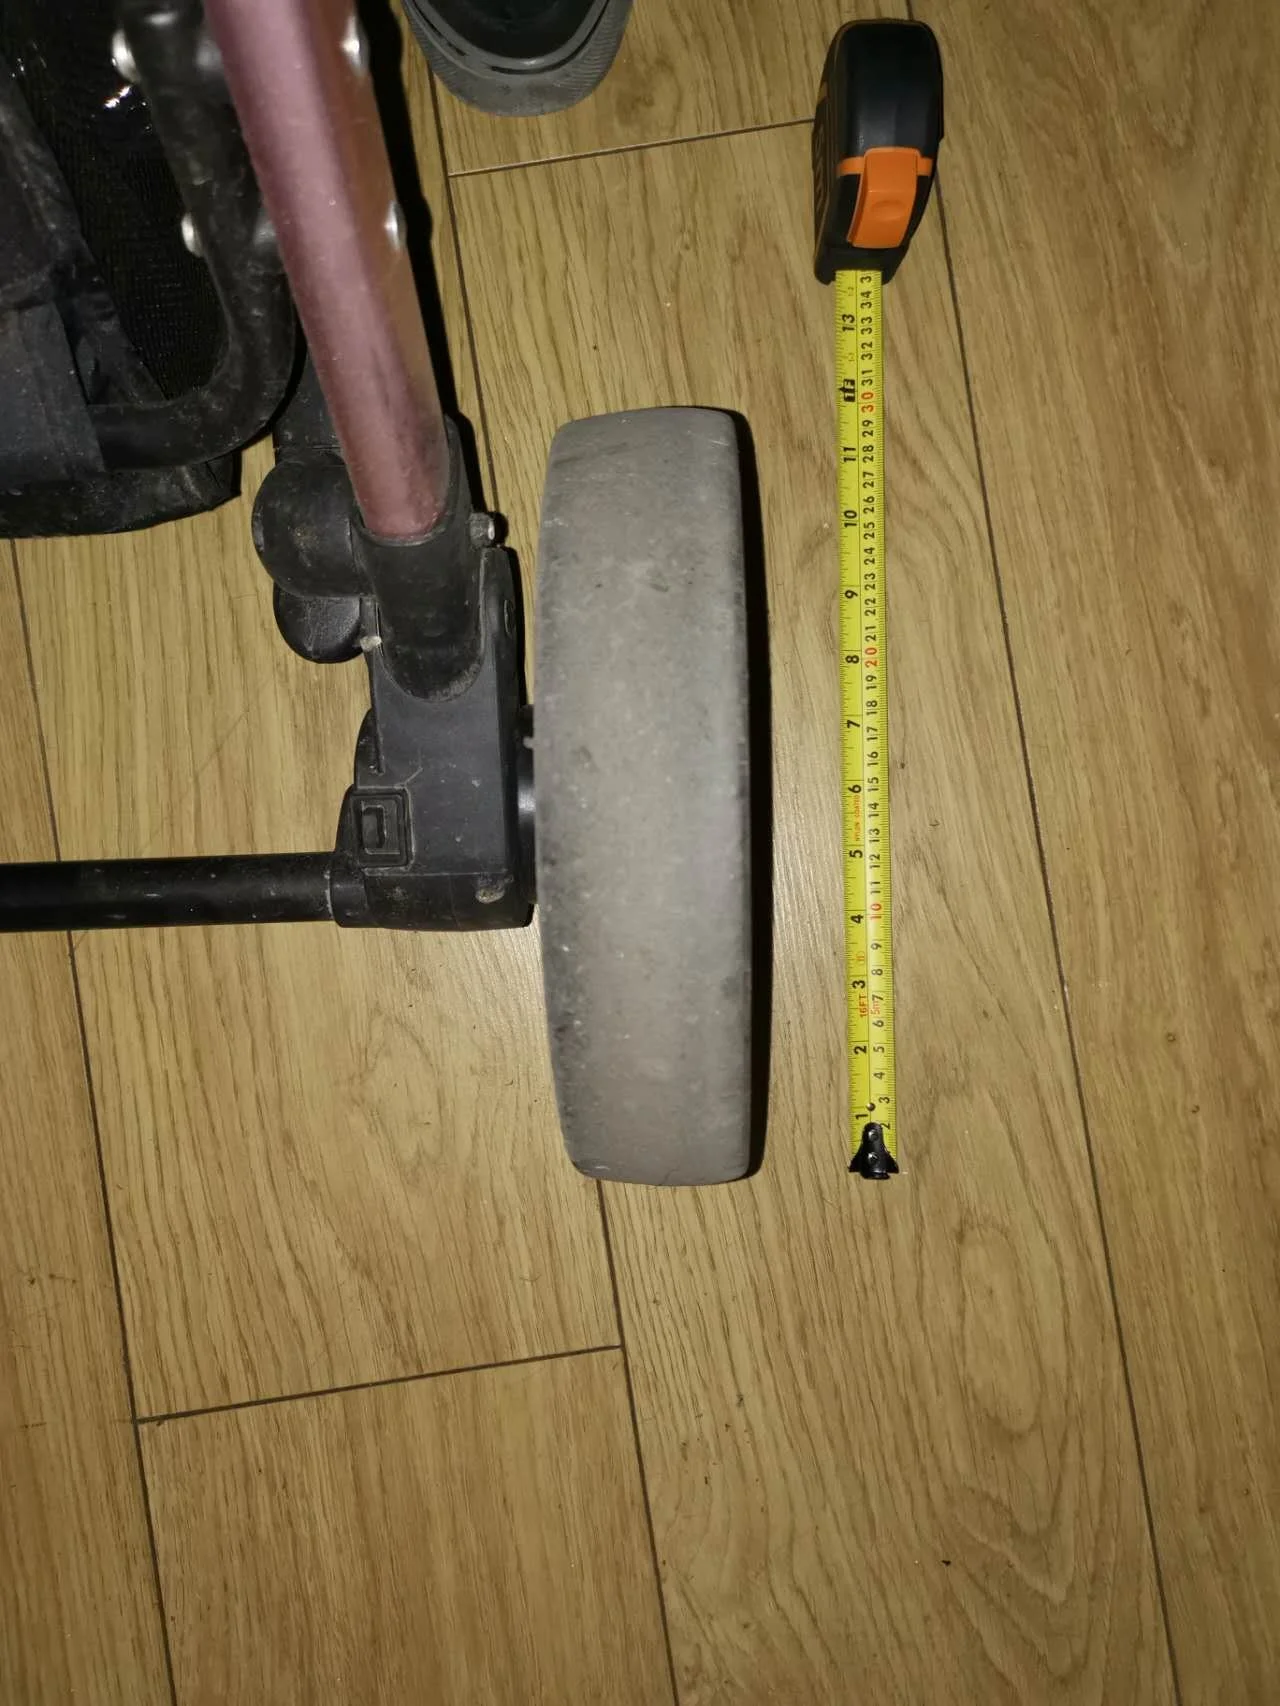
Bassinet Height Investigation
Revision
The whole point of this process was to learn. At this stage, I was making final adjustments, taking measurements, and capturing profile photos to use as references for sketching. I wanted to explore the ideal height of the bassinet to ensure that a person with reduced mobility could comfortably lift the baby in and out. Although the mock-up was minimal in detail, it taught me a great deal that I can take forward to develop a more useful and functional design.


3D Printing & Final Show
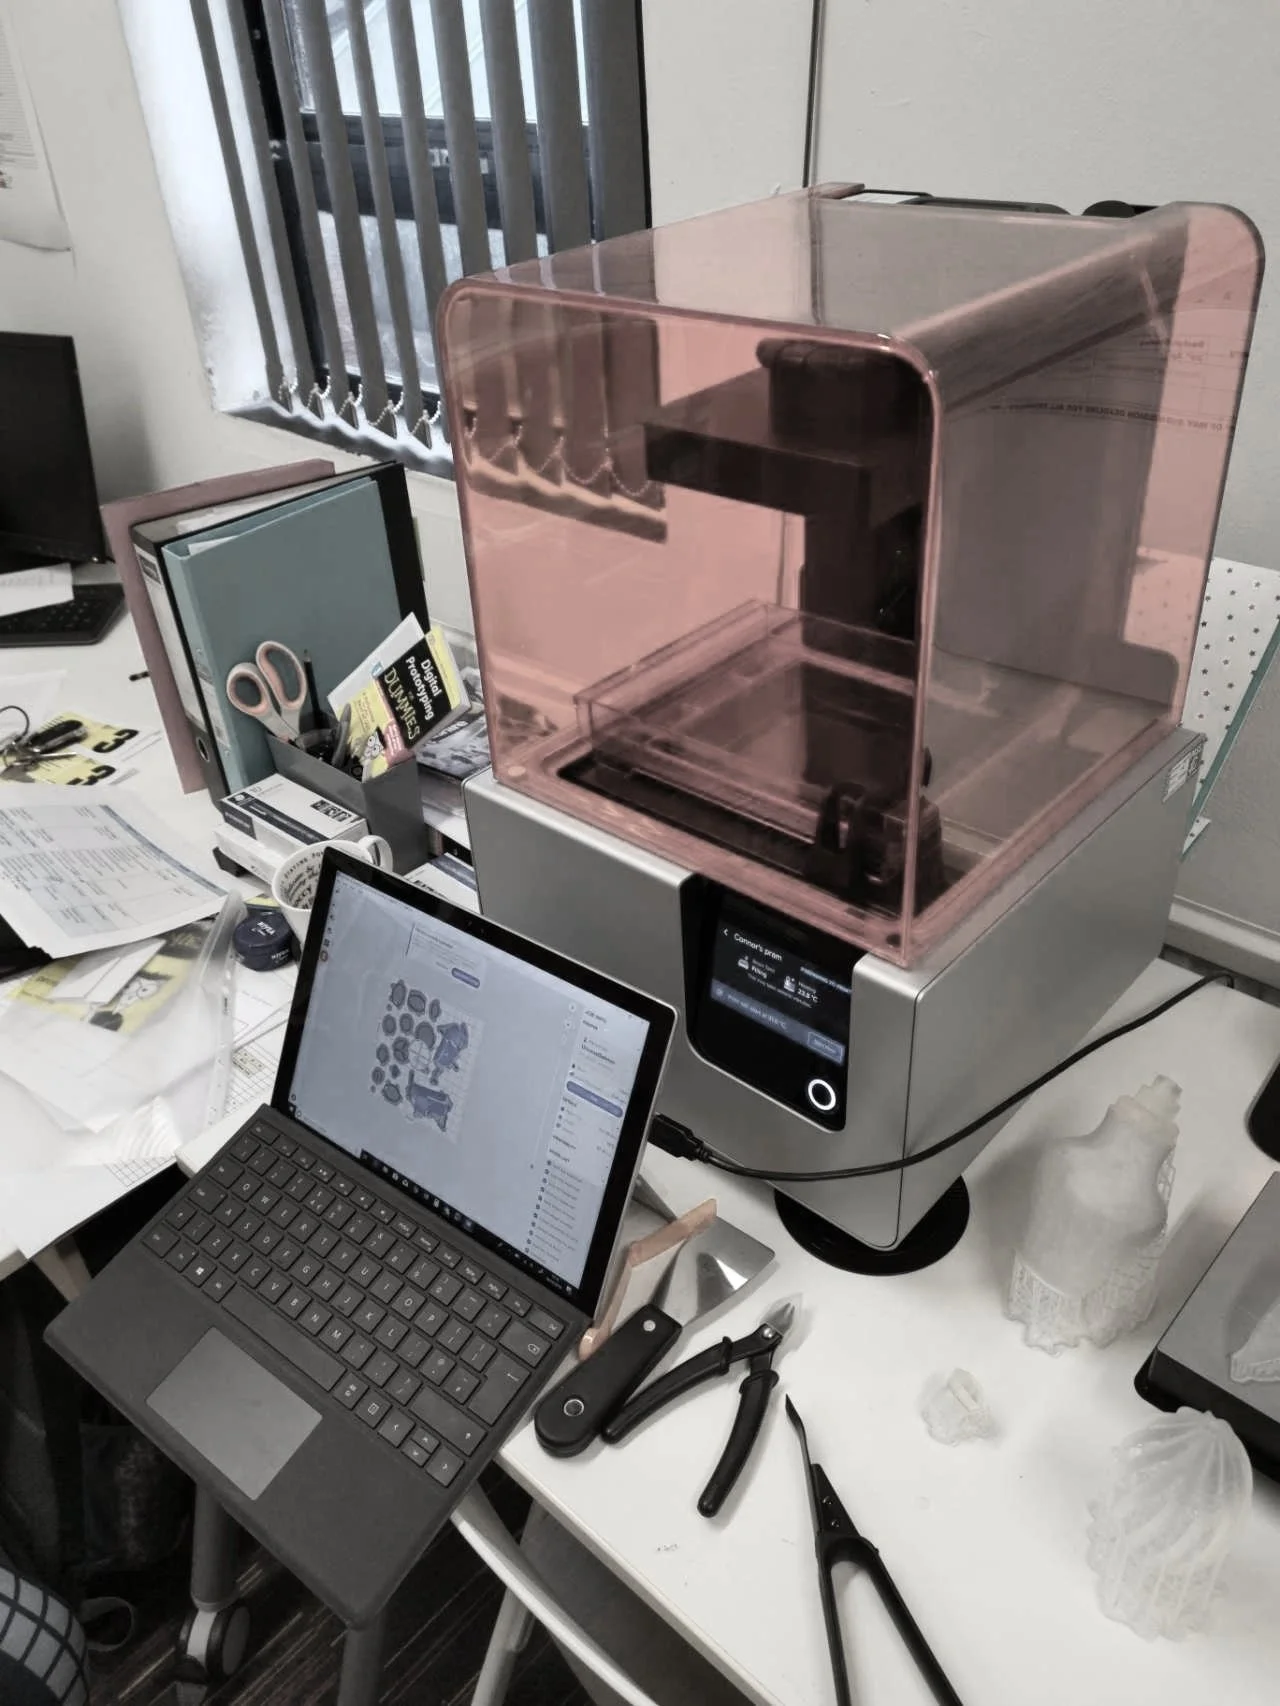
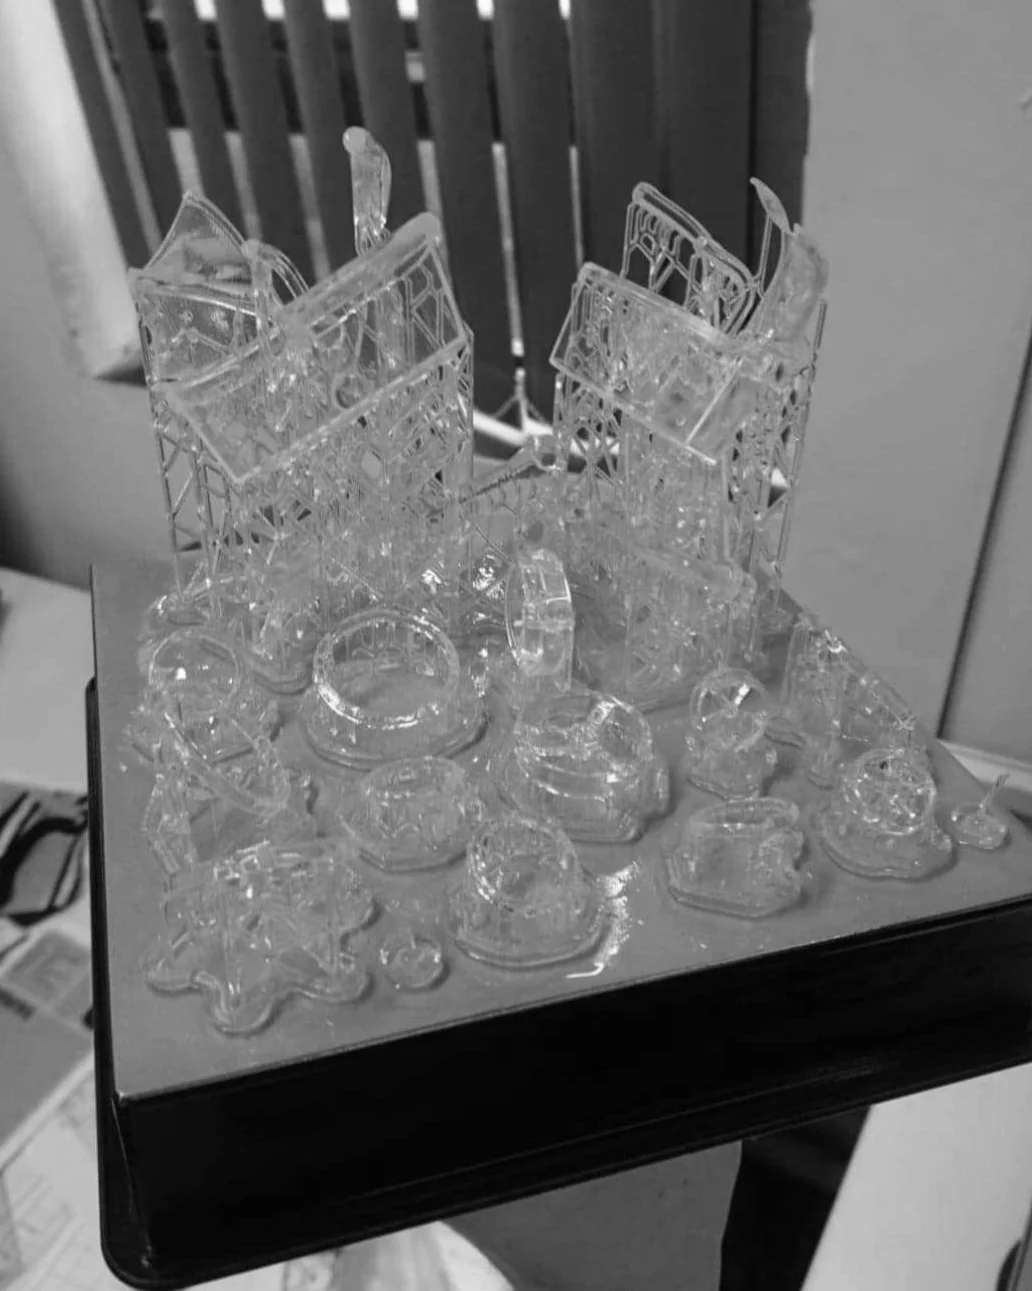
Resin Printing
Due to the complexity of the design and the limitations of print scale, resin 3D printing was the best choice. It required minimal clean-up, was less likely to fail, and produced a higher-quality print.
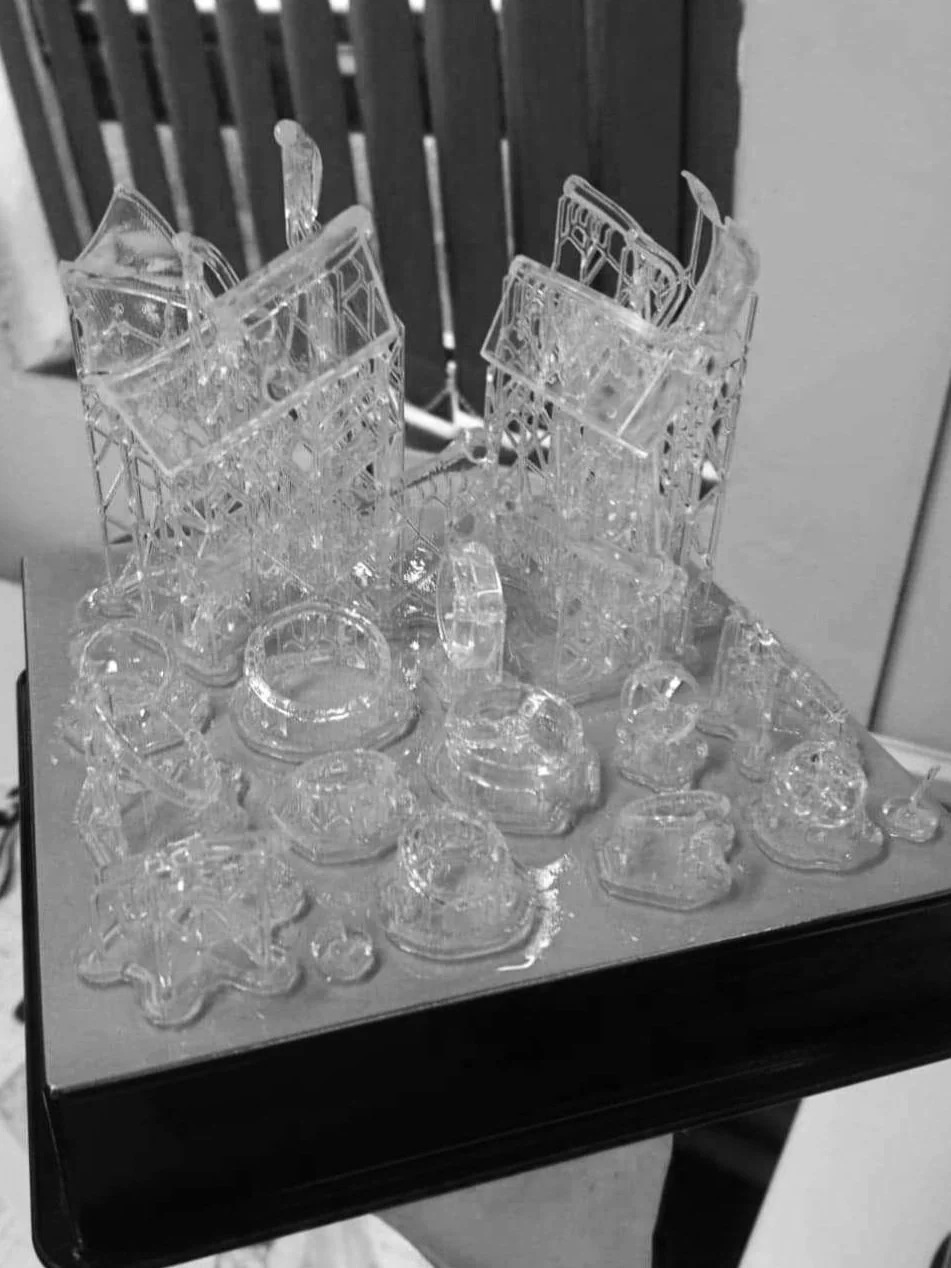
Show Prep
Cleaning and gluing were minimal due to the tight tolerances within the print layers. Although the print had some minor failures, they were easily fixed in time for the show.

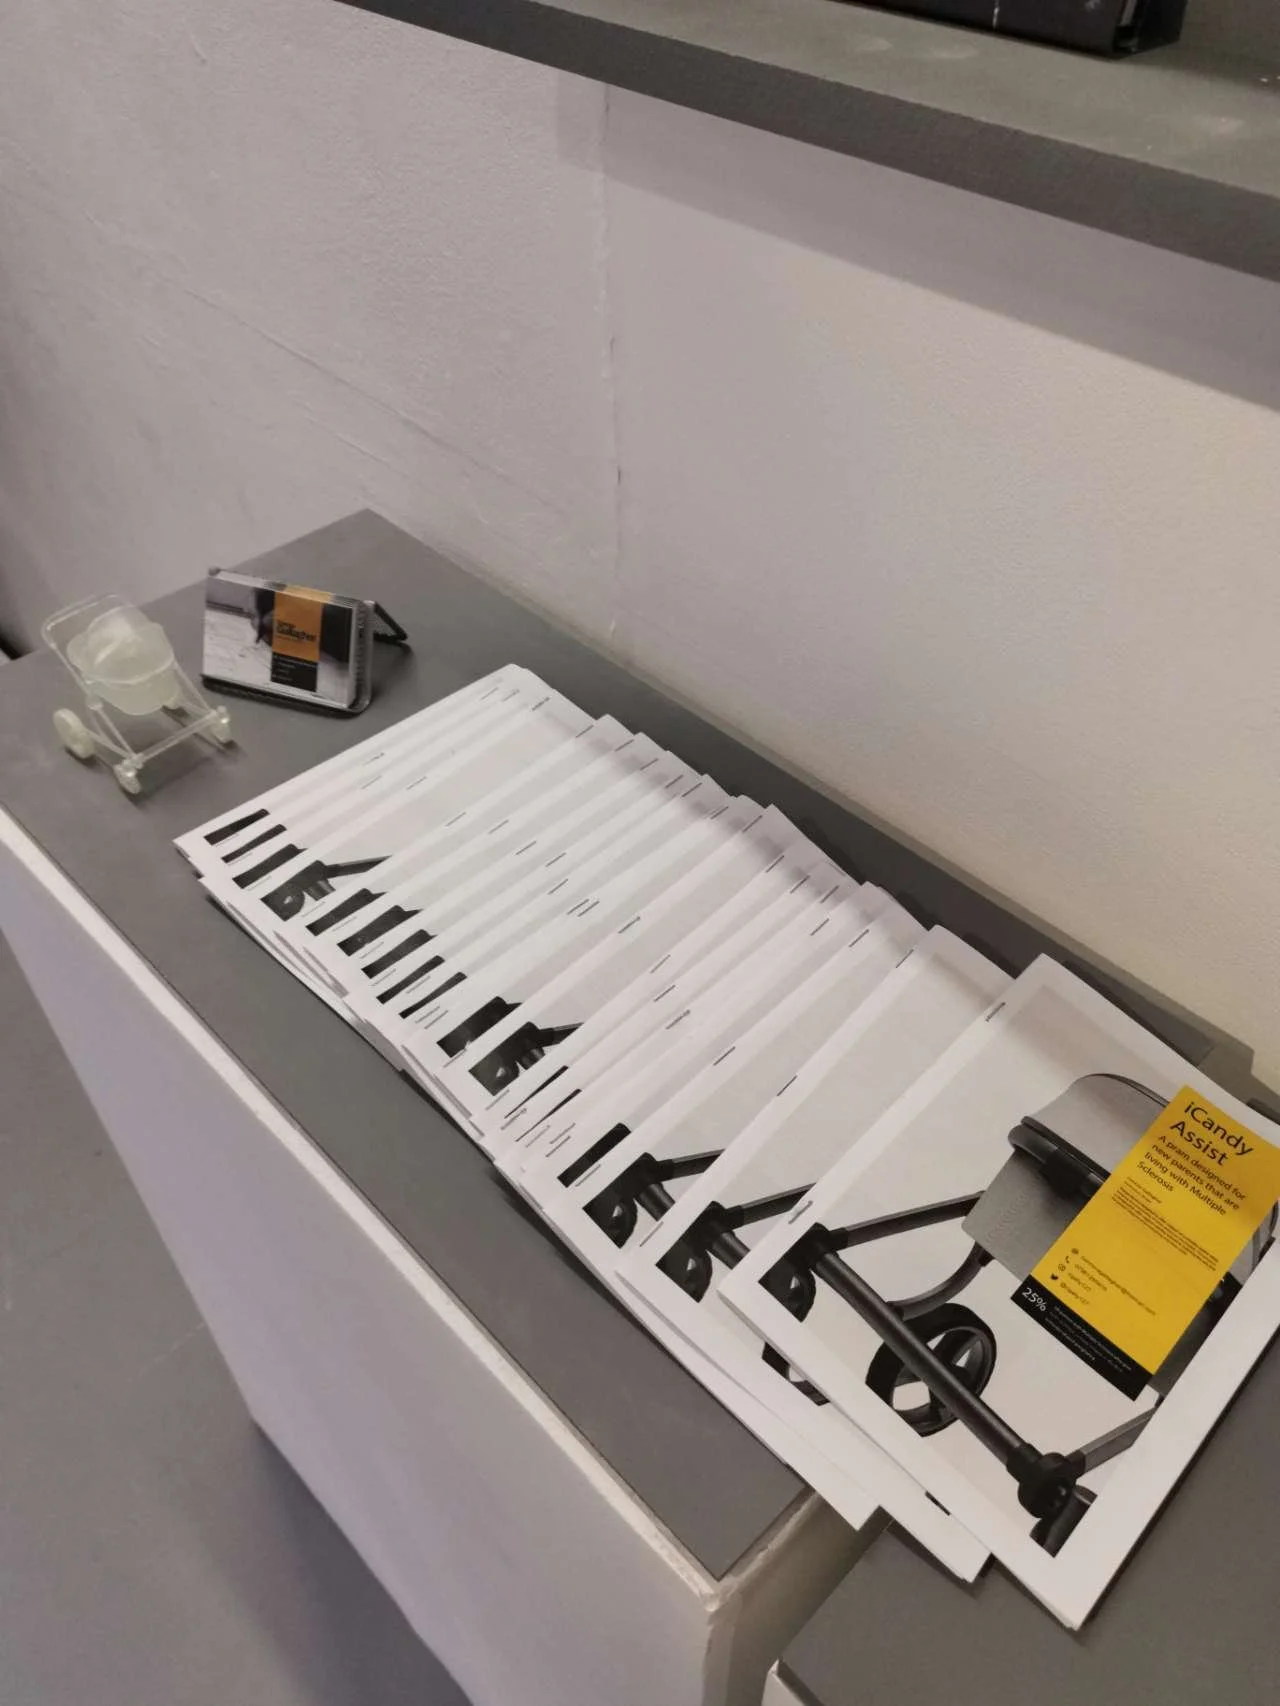
Final Show
This was my final degree show. Like any degree exhibition, I was required to present and demonstrate my design. Included in the display were my books, pamphlet, model, and test rig, which allowed the public to interact with and experience the design.


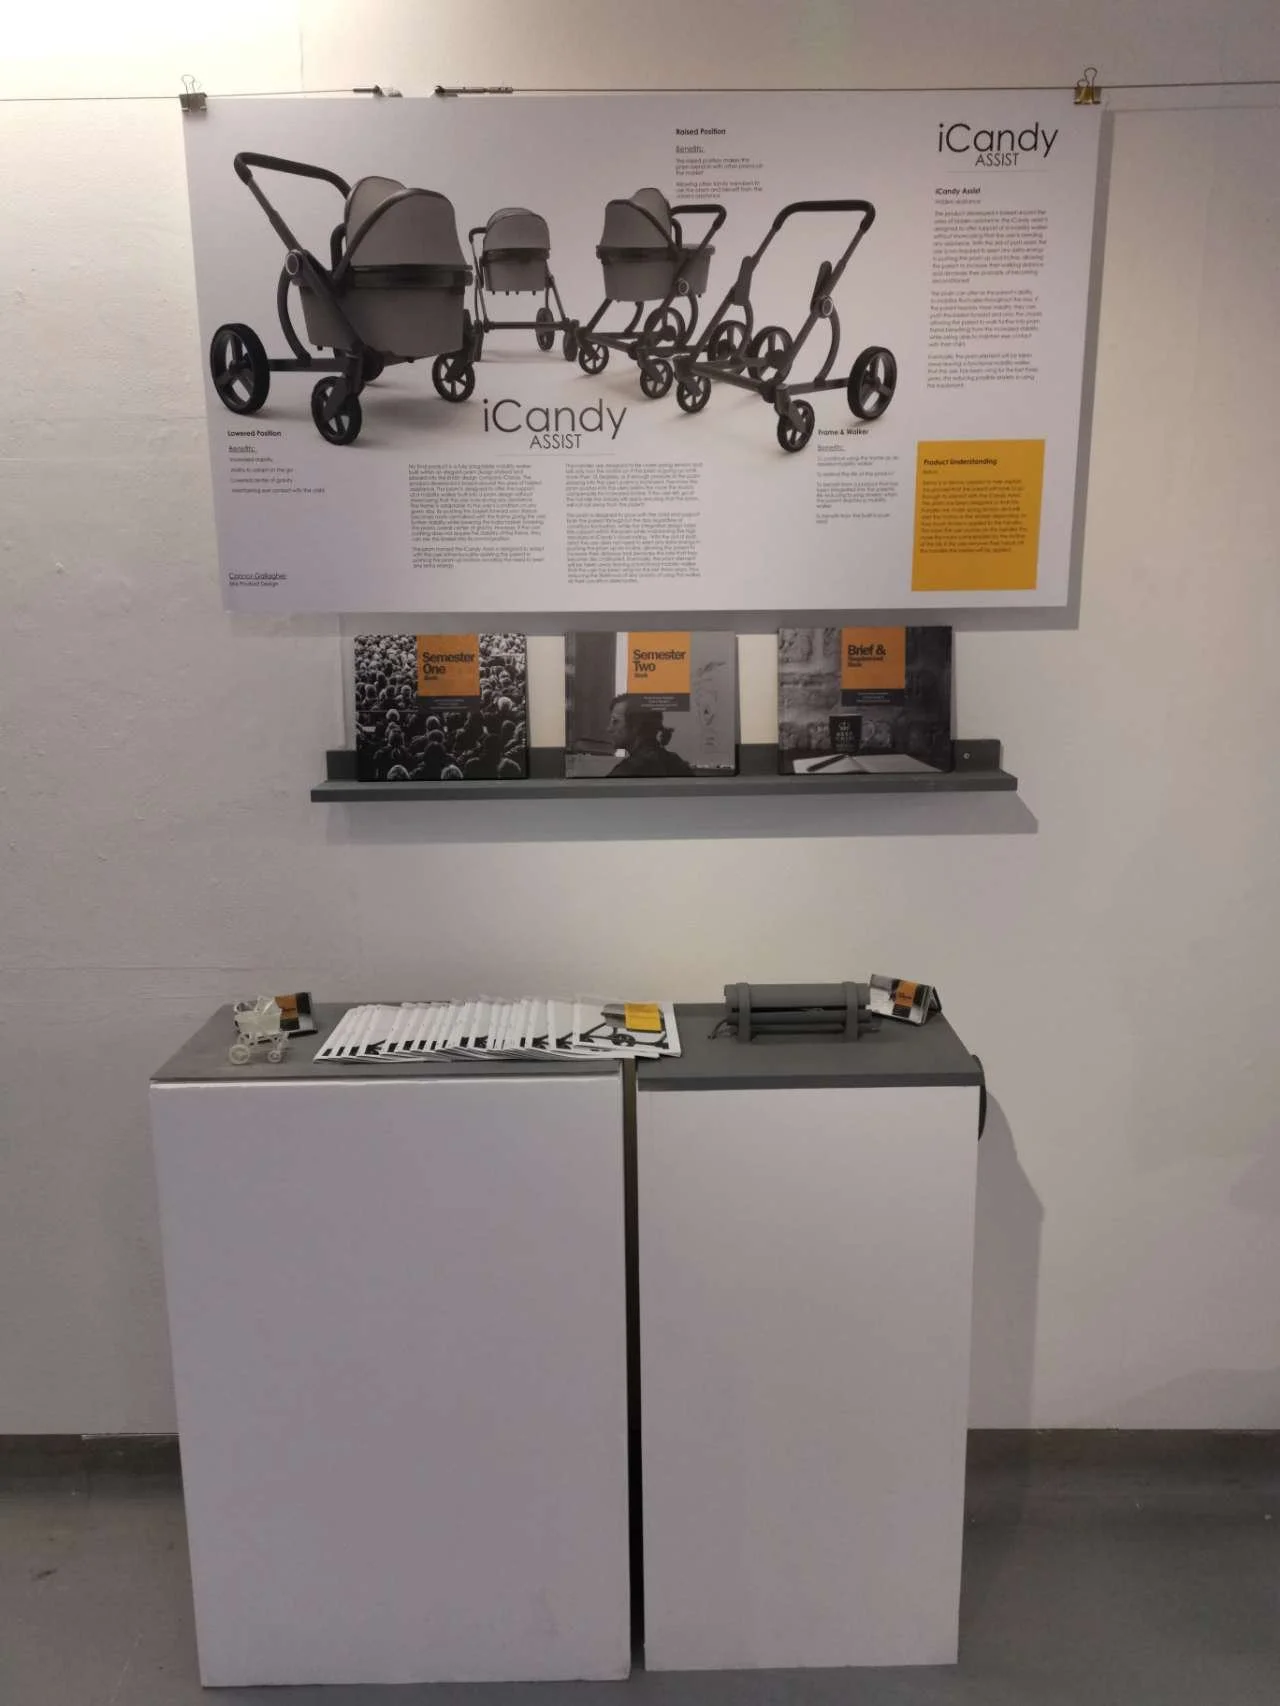
Visual Frustration
I believe you should always show the frustrations, due that the design process is never perfect!